
This is the last post to be added to this workshop blog,
but hop over to the Creative Expressions blog
and Facebook page for more projects and inspiration

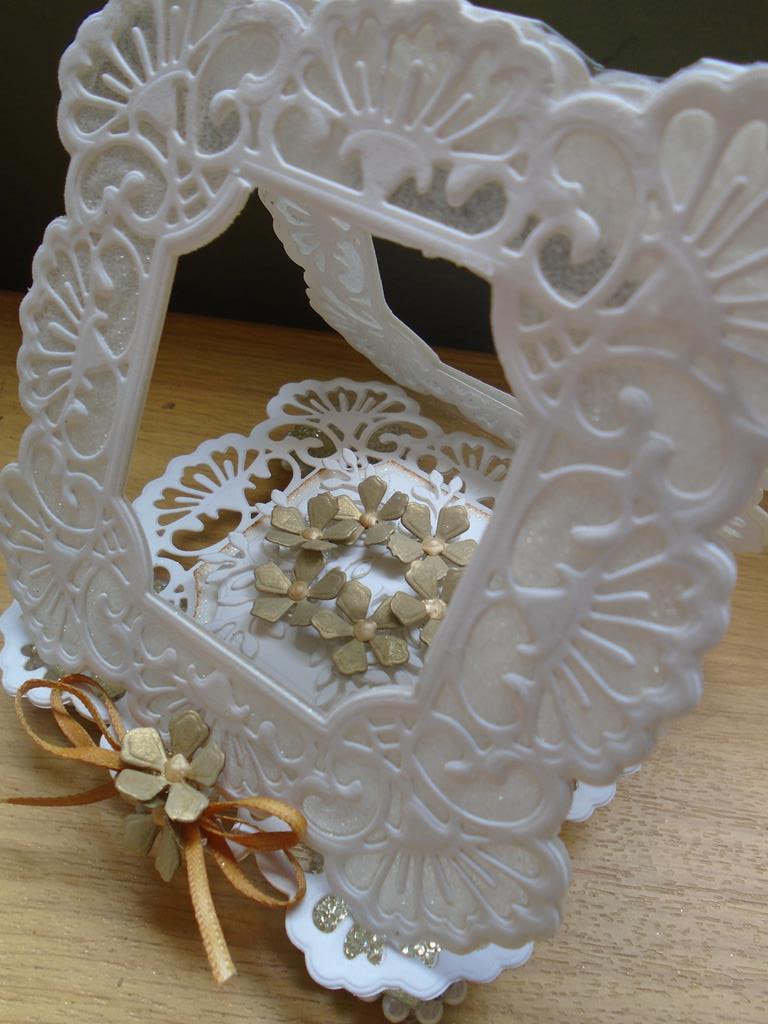
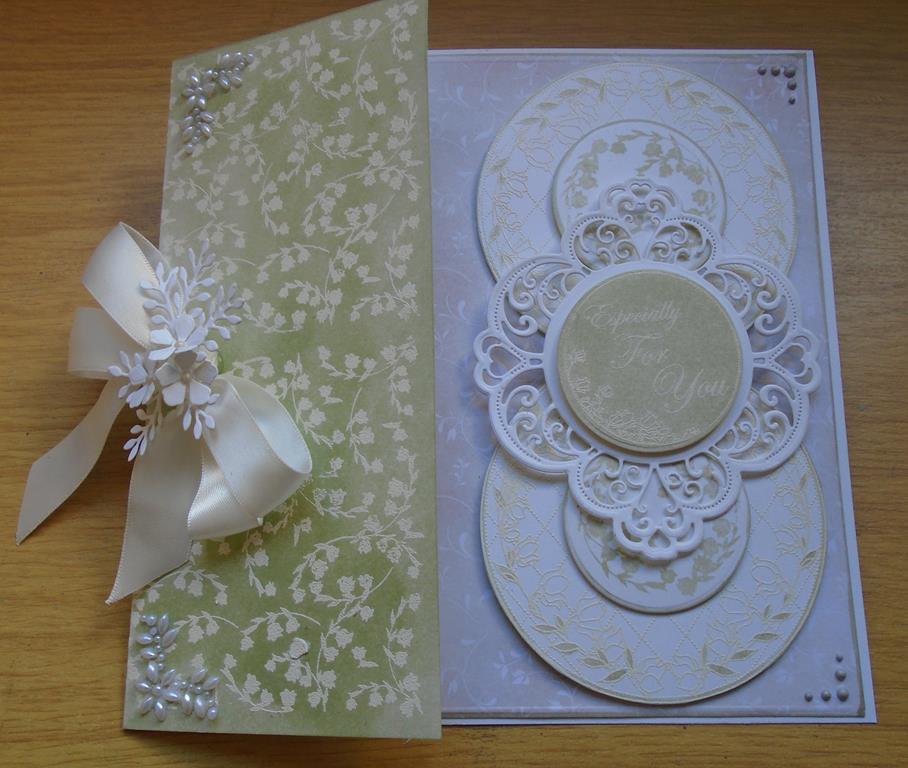
This project will show you how to make this Sue Wilson frame butterfly card using the Sue Wilson Shadow Box Collection ~ In The Garden Die Set along with the Sue Wilson Shadow Box Collection ~ stitched lattice frame and the Lisa Horton Butterfly Splash stamps.

The card is finished off with a Jute twine and a small daisy flower head some a Sue Wilson die set and the tag has 2 rose resin flowers by Craft Consortium on edge end.
__________________
Click on the link below for a Printable Version of the Workshop
Sue Wilson Shadow Box Butterfly Splash Card
________________________
If you have a Facebook account
you can now follow Creative Expressions on FACEBOOK
Click here for the link
Great for latest information
_______________
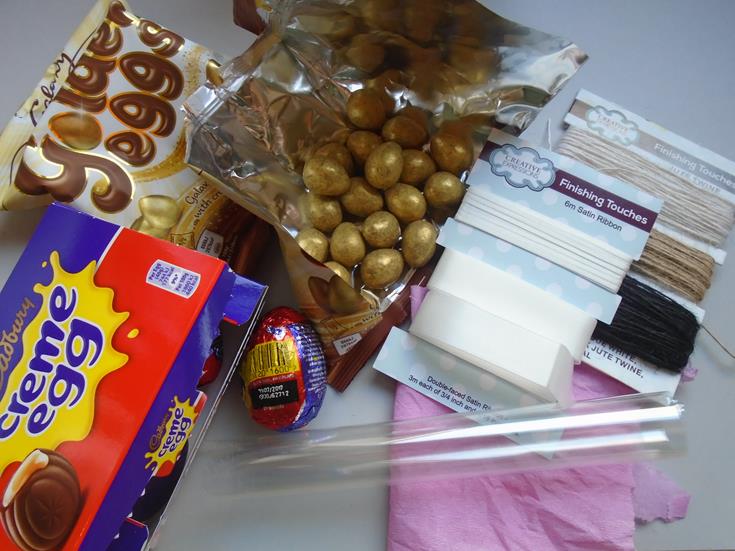
Shopping List
Grand Calibur™ Die Cutting Machine : WIZGC-200
Sue Wilson Shadow Box Collection ~ In The Garden Die Set : CED9309
Sue Wilson Shadow Box Collection ~ Stitched Lattice Frame Die Set : CED9303
Creative Expressions Lisa Horton Butterfly Splash Stamp Set : CEC783
Cosmic Shimmer Metallic Gilding Polish
Blossom : CSMGBLOSSOM, Silver Dream : CSMGSILVER, Pearl
Lustre : CSMGPEARL & Heather : CSMGHEATH
Creative Expressions Mini Stencil Butterfly Splash : CEMSBSPLASH
Cosmic Shimmer True White Embossing Powder : CSEPWHITE
& Cosmic Shimmer Aurora Crystal Sparkle Embossing Powder : CSEPAURORA
Cosmic Shimmer Polar White Sparkle Texture Paste : CSPASTSPPOLAR
Spellbinders Tool in One : WIZTOOL
Foundations Vellum : 40024, Foundations Slate Grey Card :41027
& Foundations Coconut Card : 40980
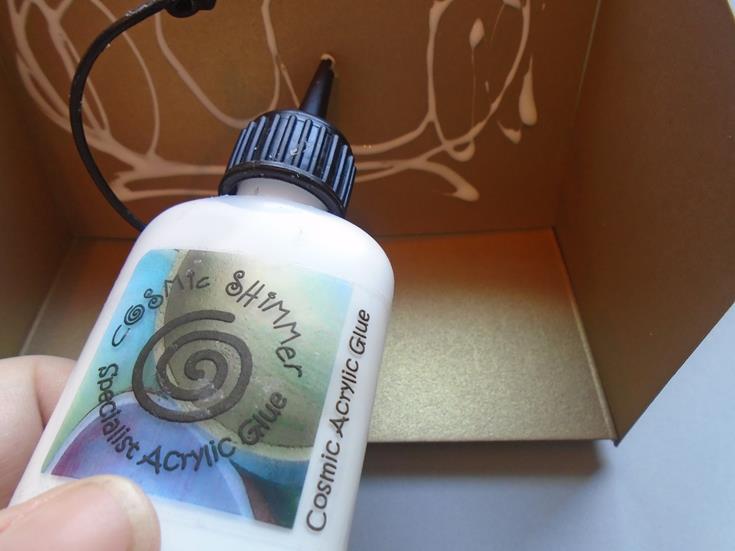
Cosmic Shimmer Clear Glue : CSGLUE
Creative Expression Jute Twine Antique White, Natural & Black : CETWINEJUTE
Craft Consortium Rose Resin Flowers : AFRFLR002
& Silicone Glue
___________________
Step by Step Instructions
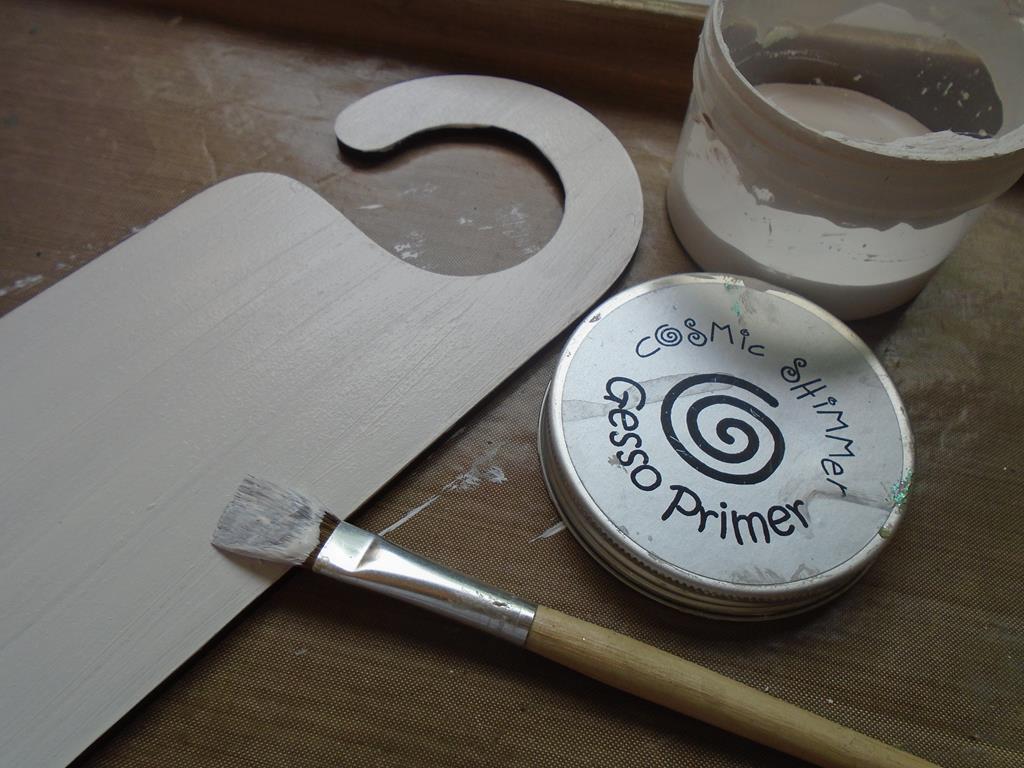
Step 1. This workshop will show you how to make this softly toned butterfly card using the Cosmic Shimmer metallic gilding polish as the main base of the layers. The main products for the project are the Cosmic Shimmer metallic gilding polish in blossom, silver dream, pearl lustre & heather. The Creative Expressions butterfly mini stencil is used along with the Sue Wilson shadow box collection ~ in the garden die set & the Sue Wilson stitched lattice frame die set. All other products are listed on the page before.
1
Step 2. Secure the Creative Expressions butterfly mini stencil onto a piece of Foundations vellum.
2
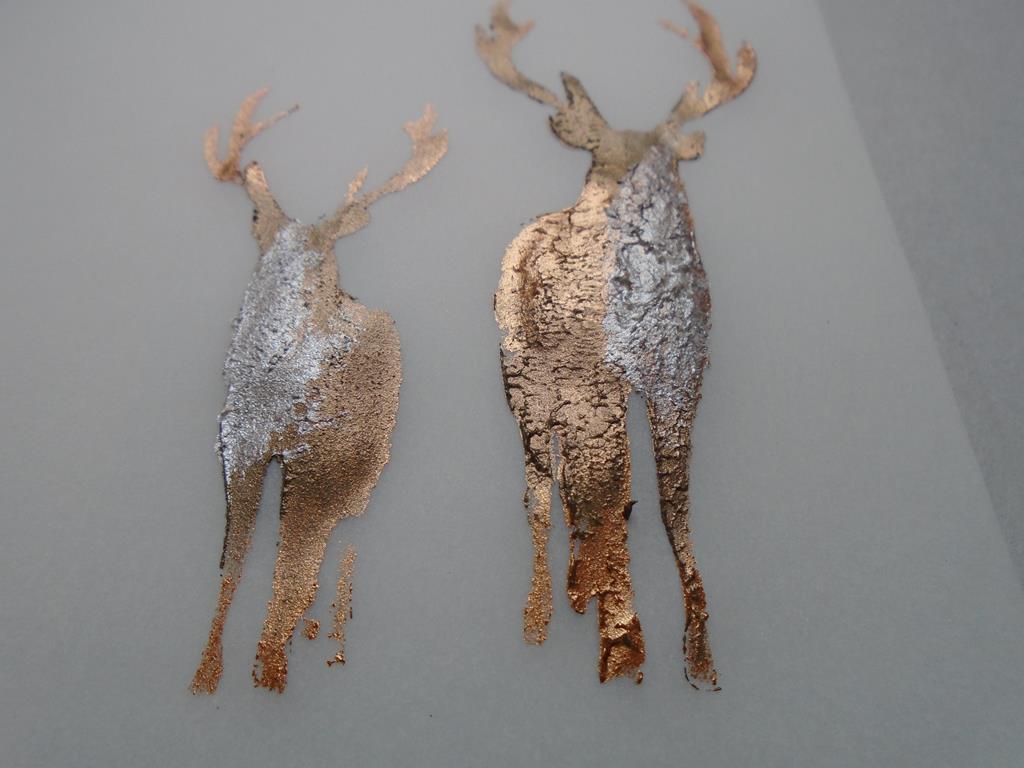
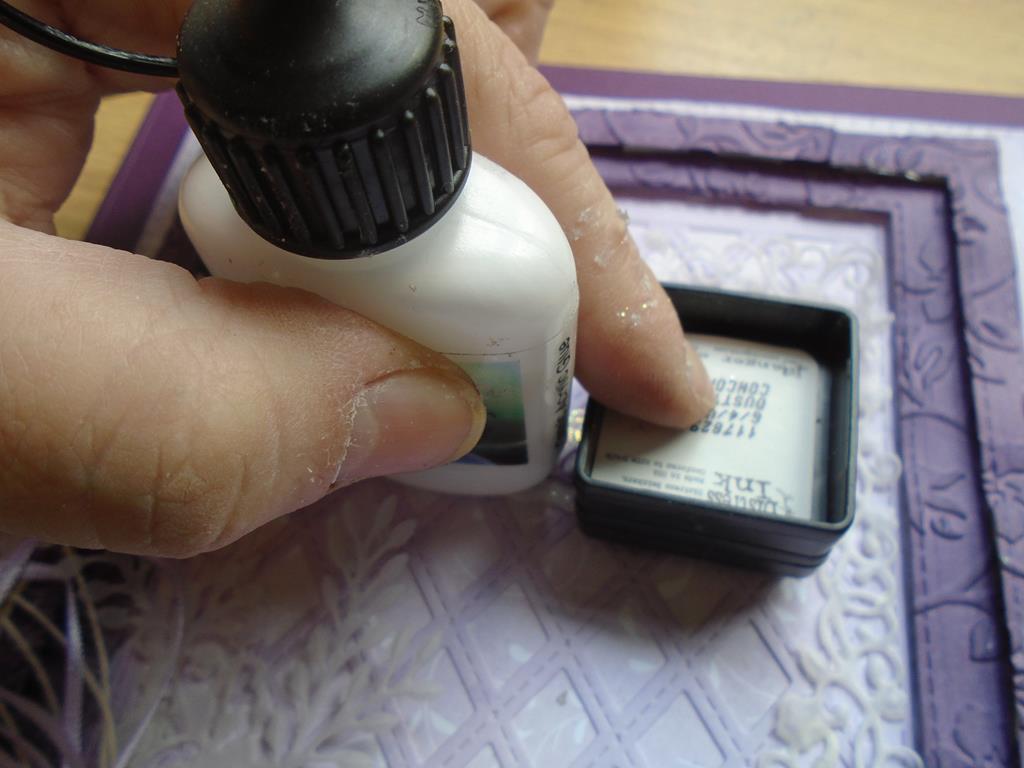
Step 3. Remove the lid of the heather & blossom Cosmic Shimmer metallic gilding polish. There will often be a little amount of the gilding polish in the lid so take a piece of the cut`n`dry felt (this is used as the polish won`t absorb as much as the cut`n`dry foam would do). Stipple this onto the butterfly having the heather in the middle and the blossom toward the edge of the wings.
3
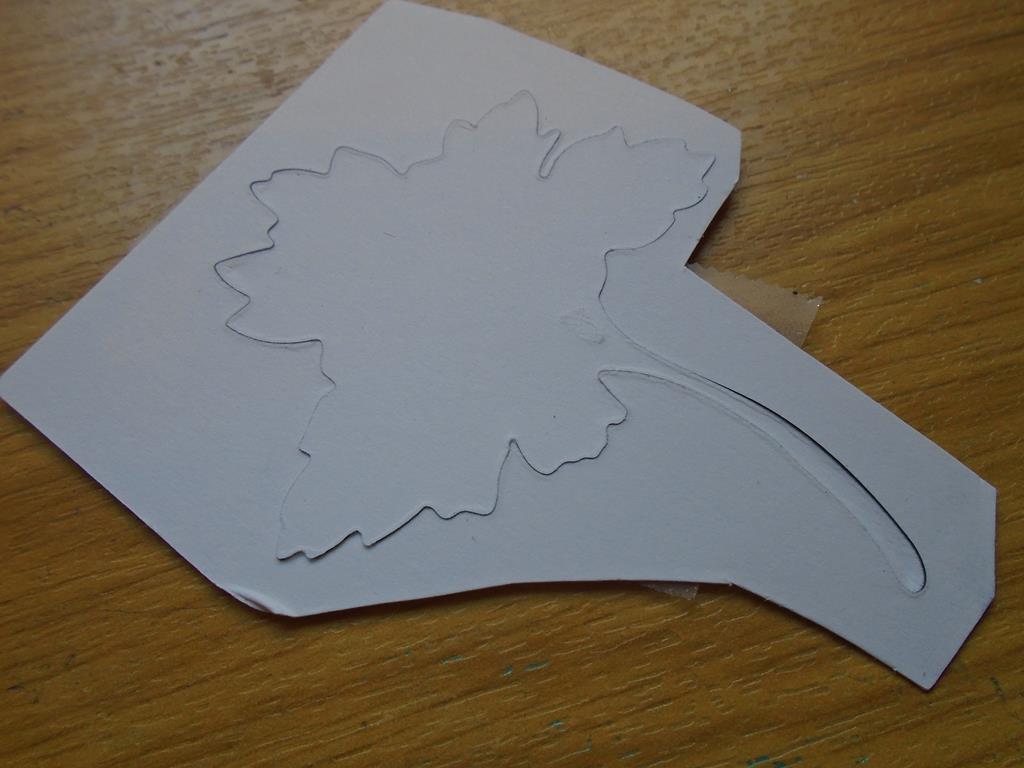
Step 4. Remove the stencil carefully to reveal the coloured butterfly. The polish did not bleed at all under the stencil when dabbing it on so made it work perfectly on the vellum. Please be aware the vellum will crinkle a little with the liquid. Once the piece is dry cut around the edges of the butterfly and curve the wings ready for a later step. The polish dries quickly so just set it aside whilst you do the next few steps and come back to it.
4
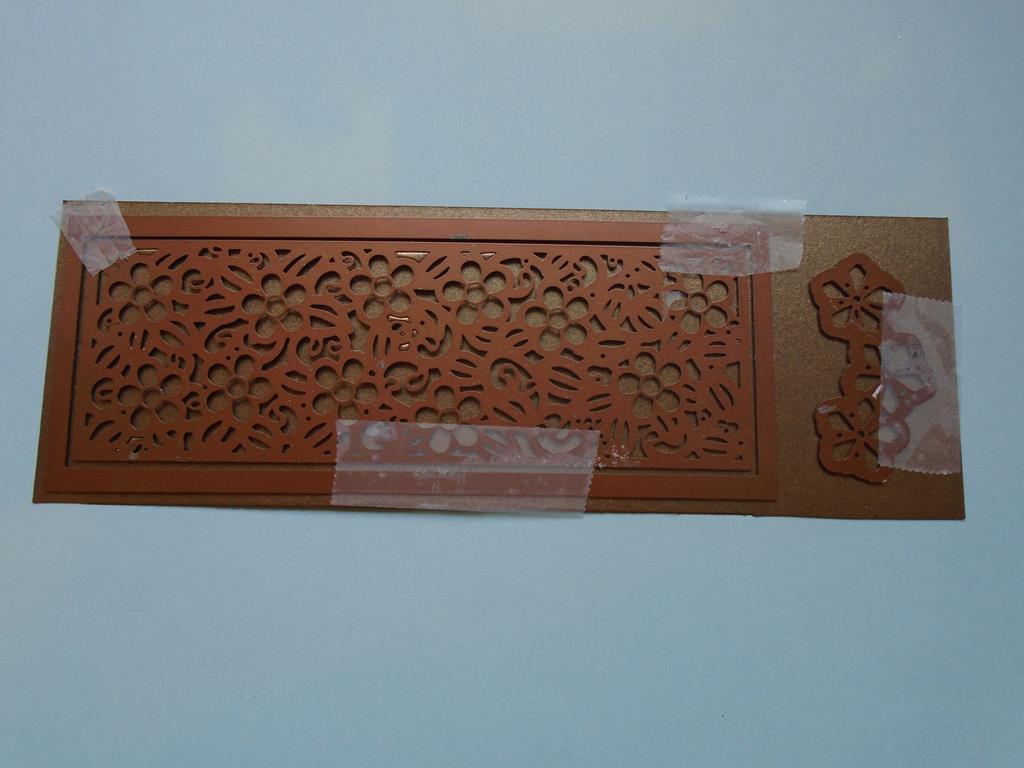
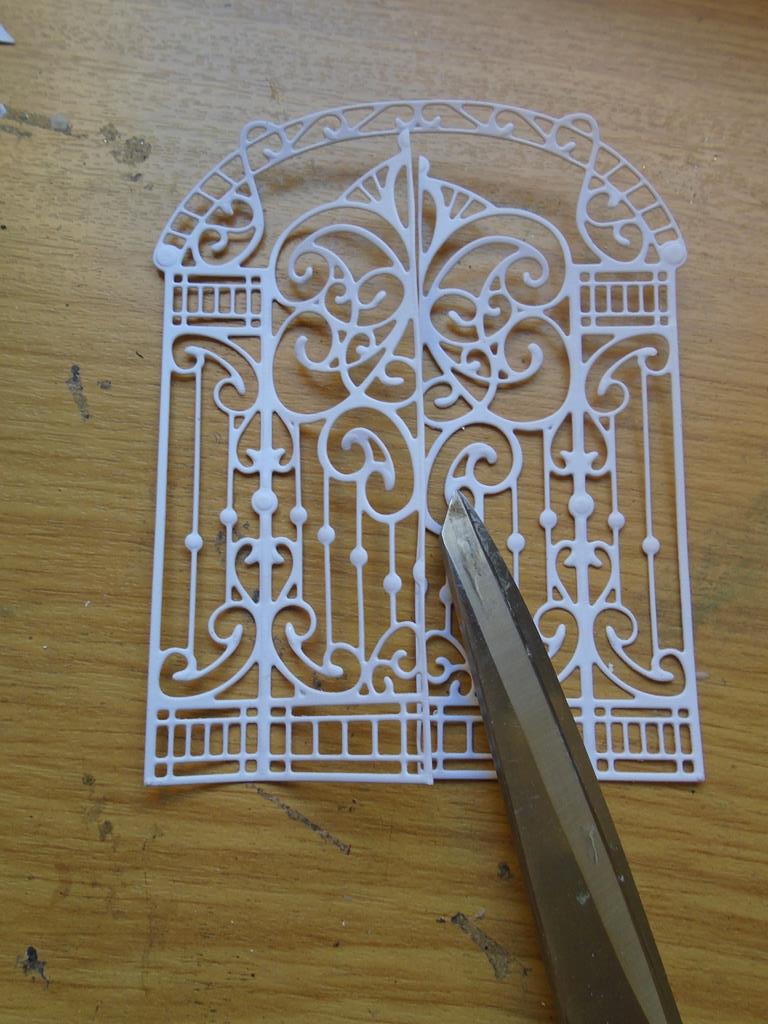
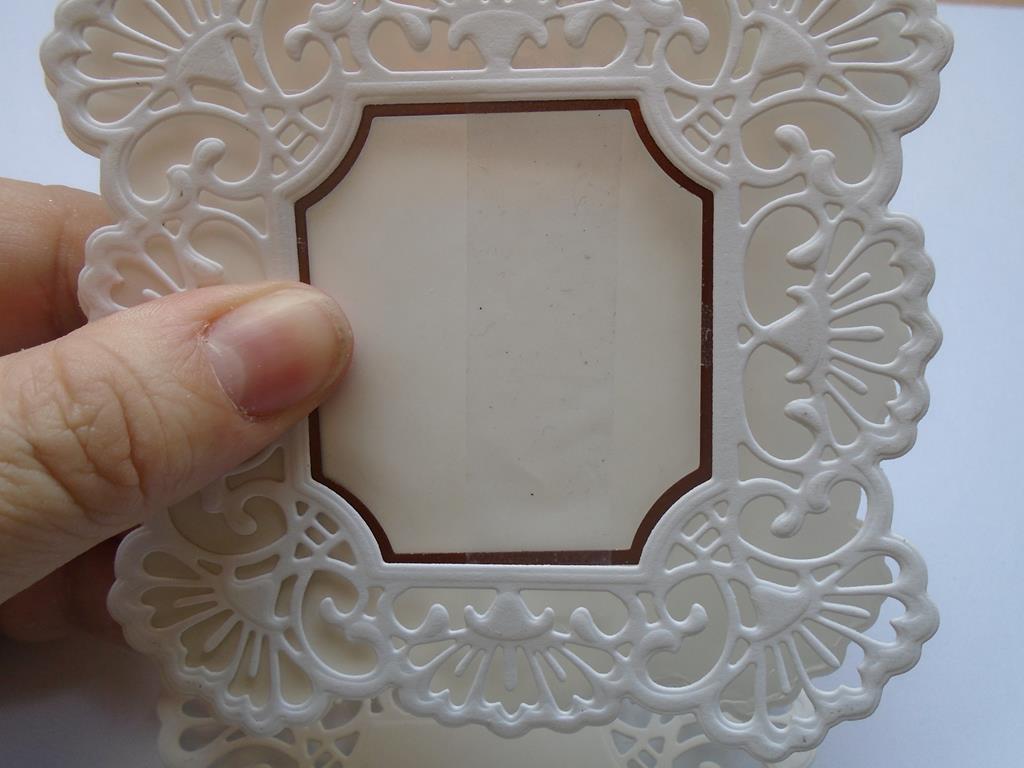
Step 5. Select the main die from the Sue Wilson shadow box collection ~ in the garden die set and cut it on a piece of Foundations card stock (not vellum as seen here). Make sure you leave a small gap all around the die so you can trim a border once the frame is cut. Secure the die in place with some low tack tape.
5
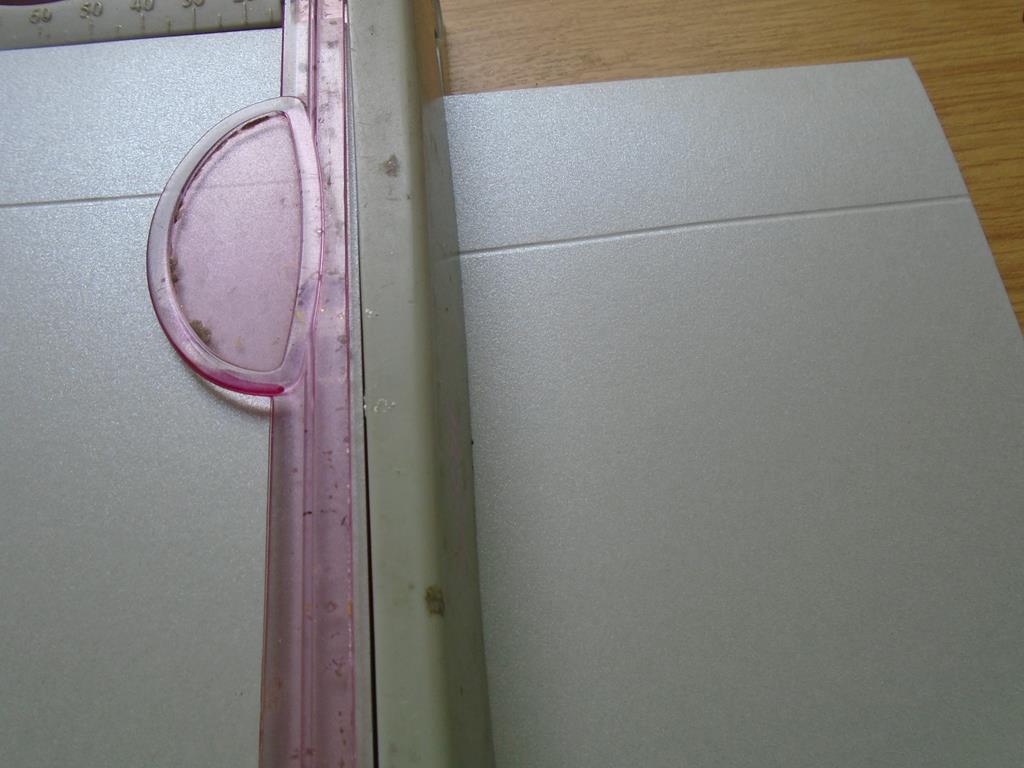
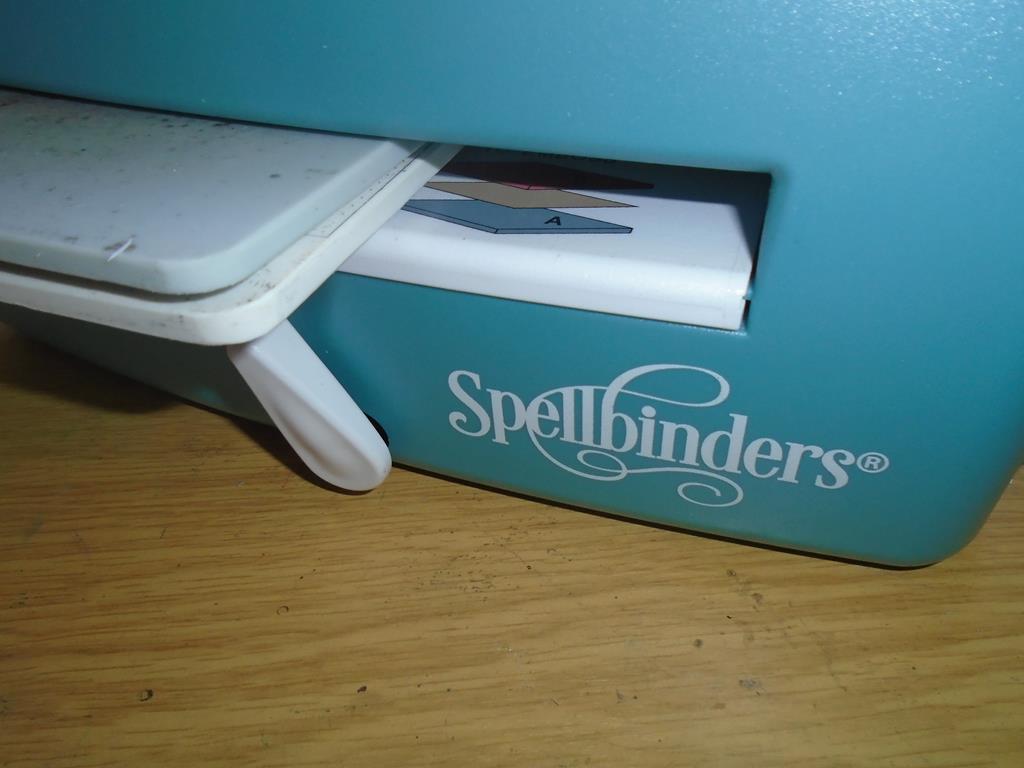
Step 6. Run the piece through the Grand Calibur machine. Please make sure the die goes through lengthways as this will give a better cut to the piece. Now use the pink embossing mat, the tan mat & base plate to emboss the cut panel.
6
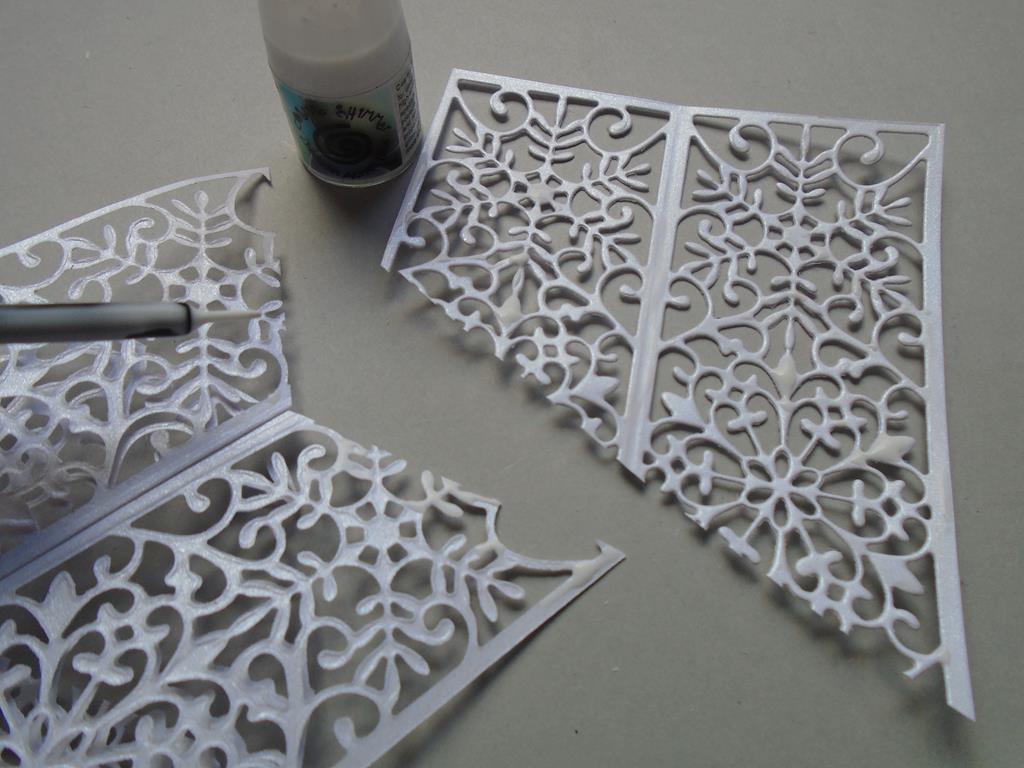
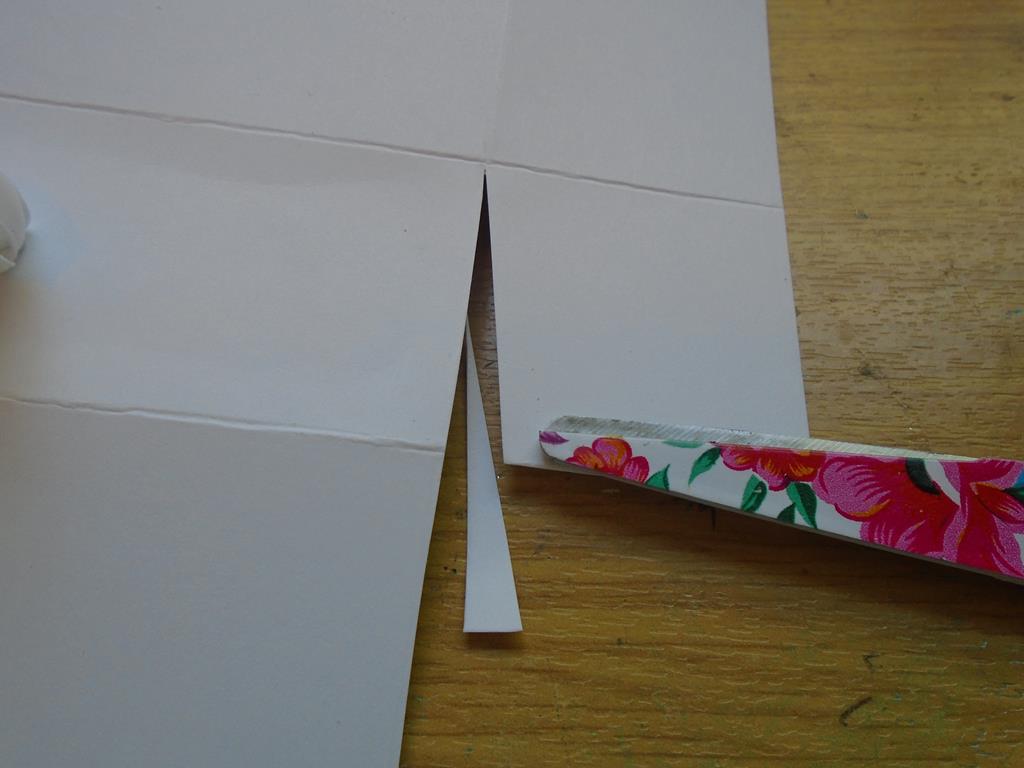
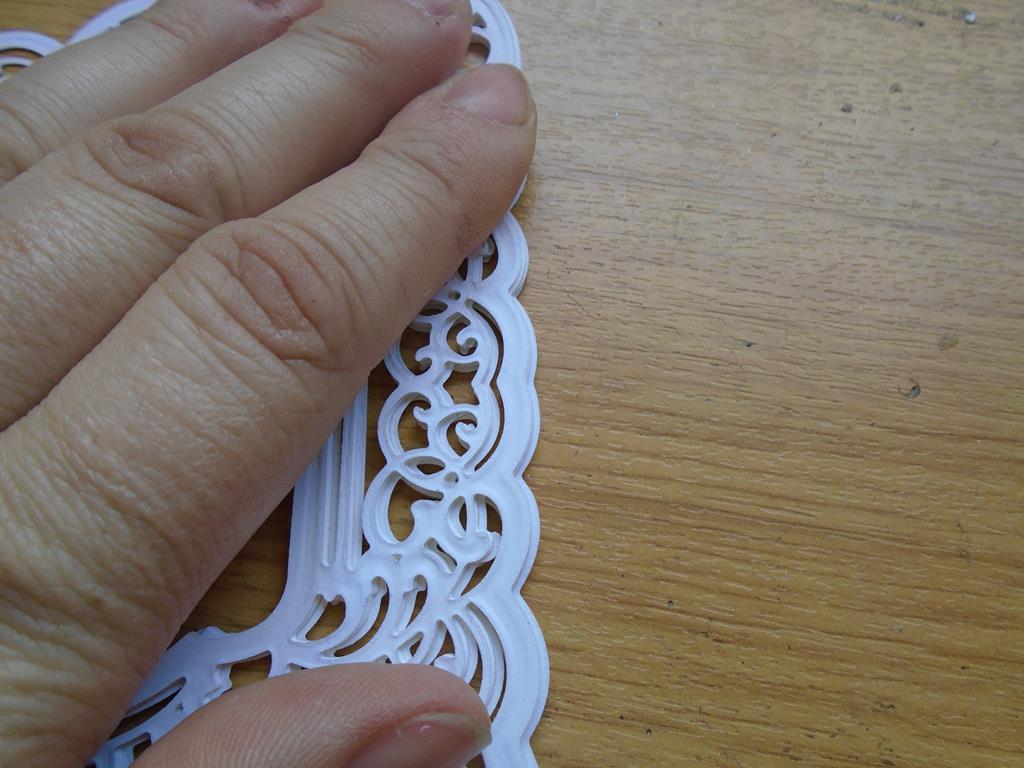
Step 7. Trim away the excess card where the outside line falls.
7
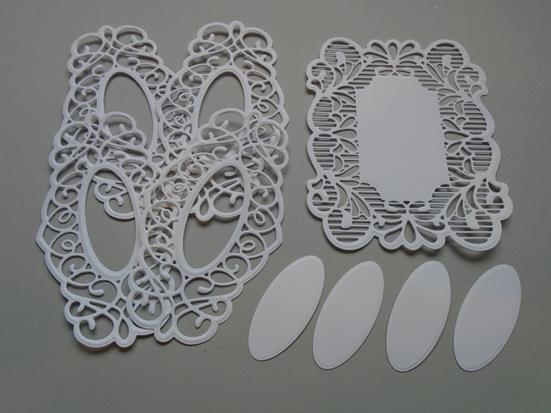
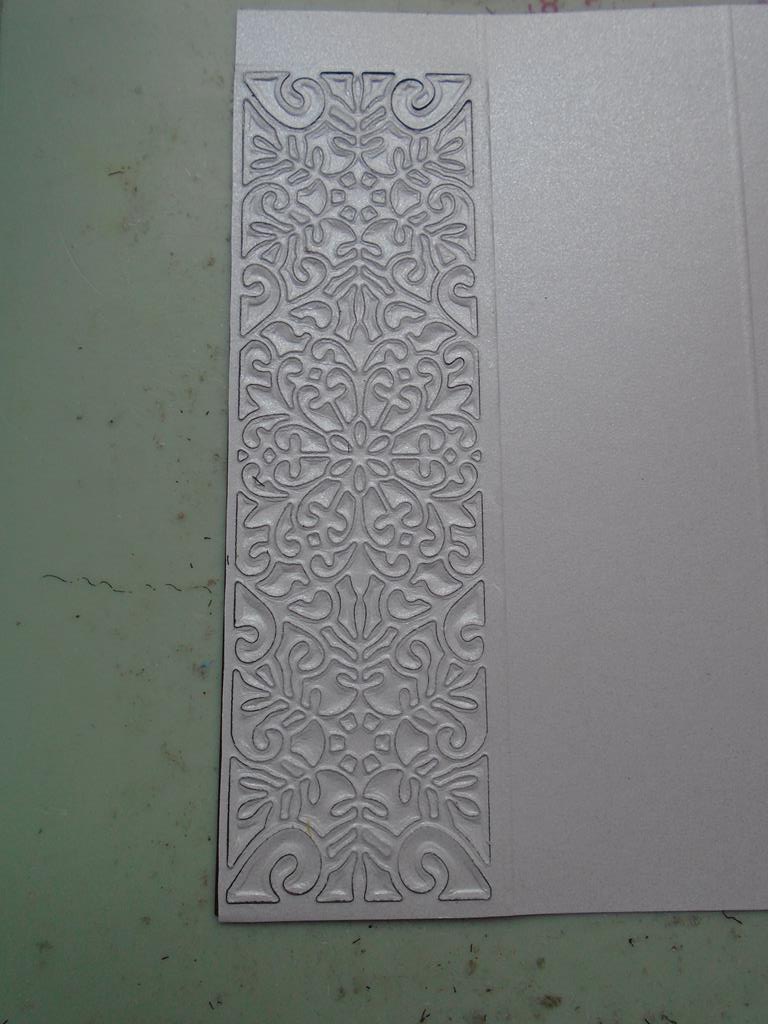
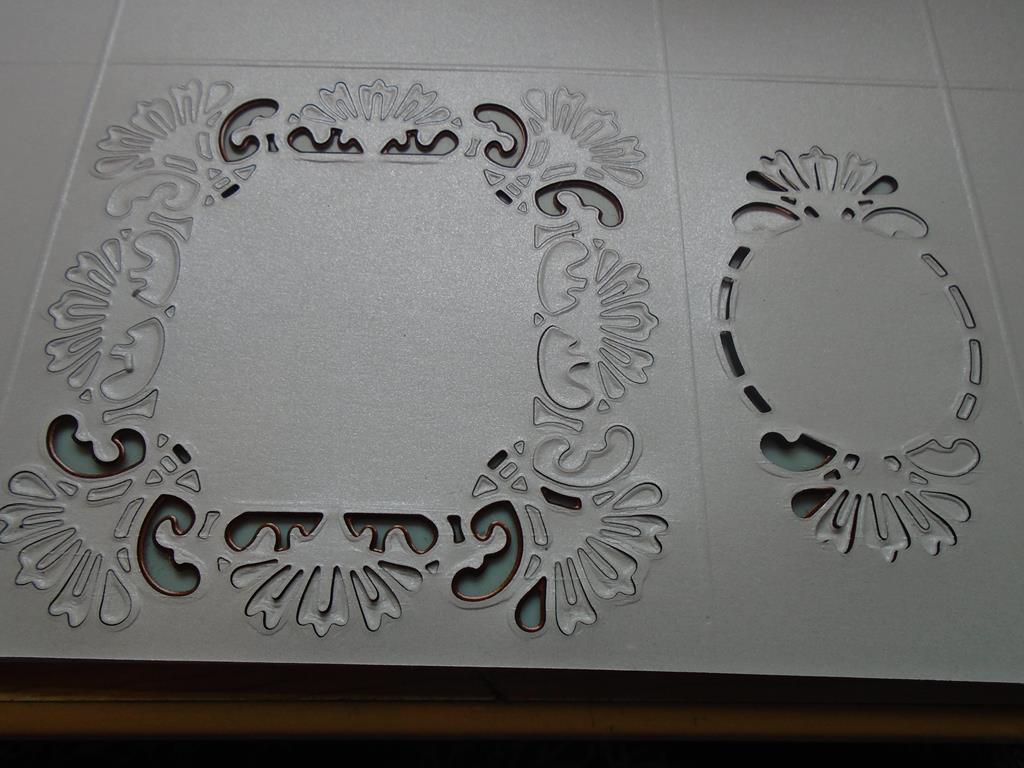
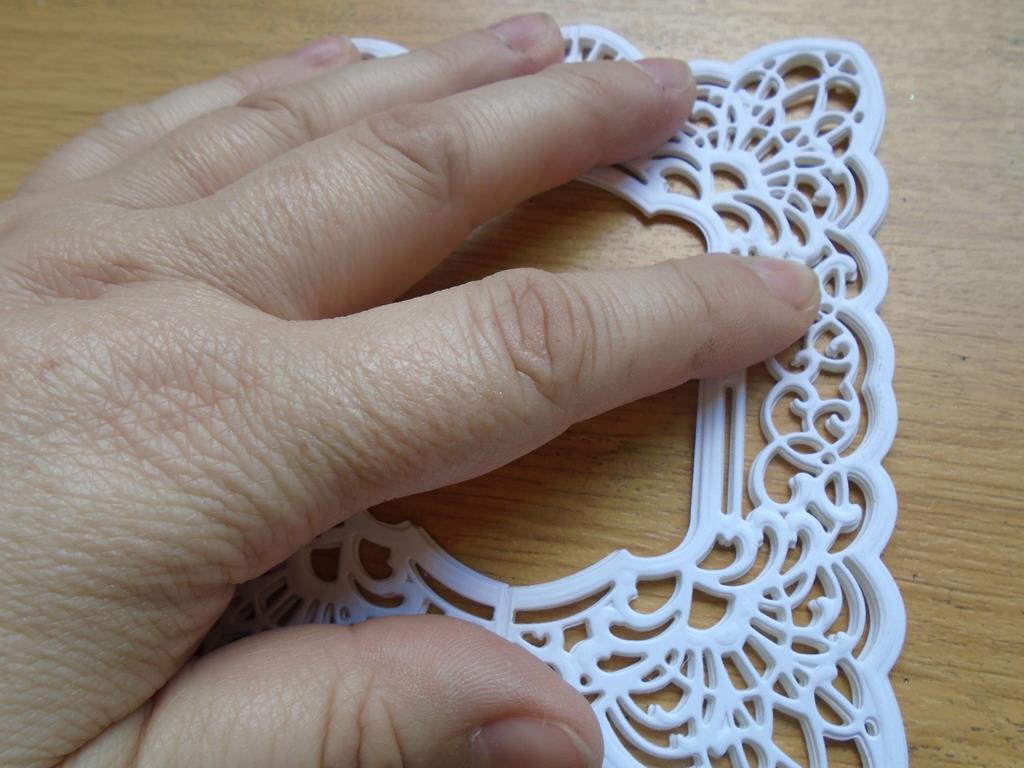
Step 8. Cut the 2 outer frames from the Sue Wilson stitched lattice frame die set and these will be covered in the gilding polish.
8
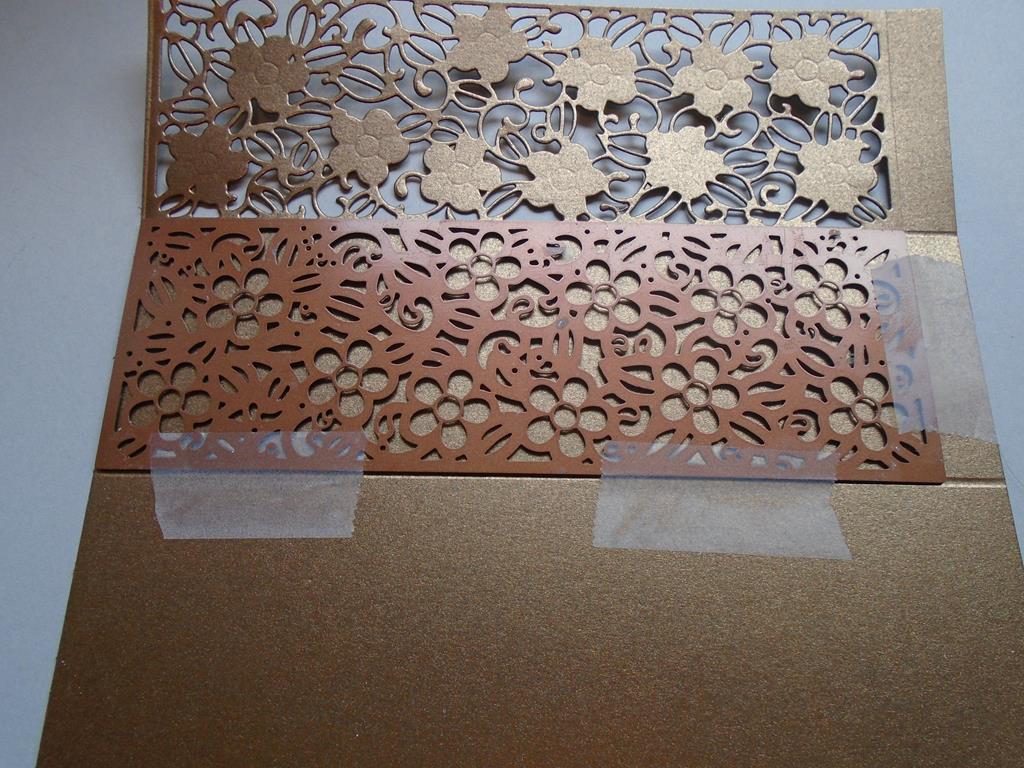
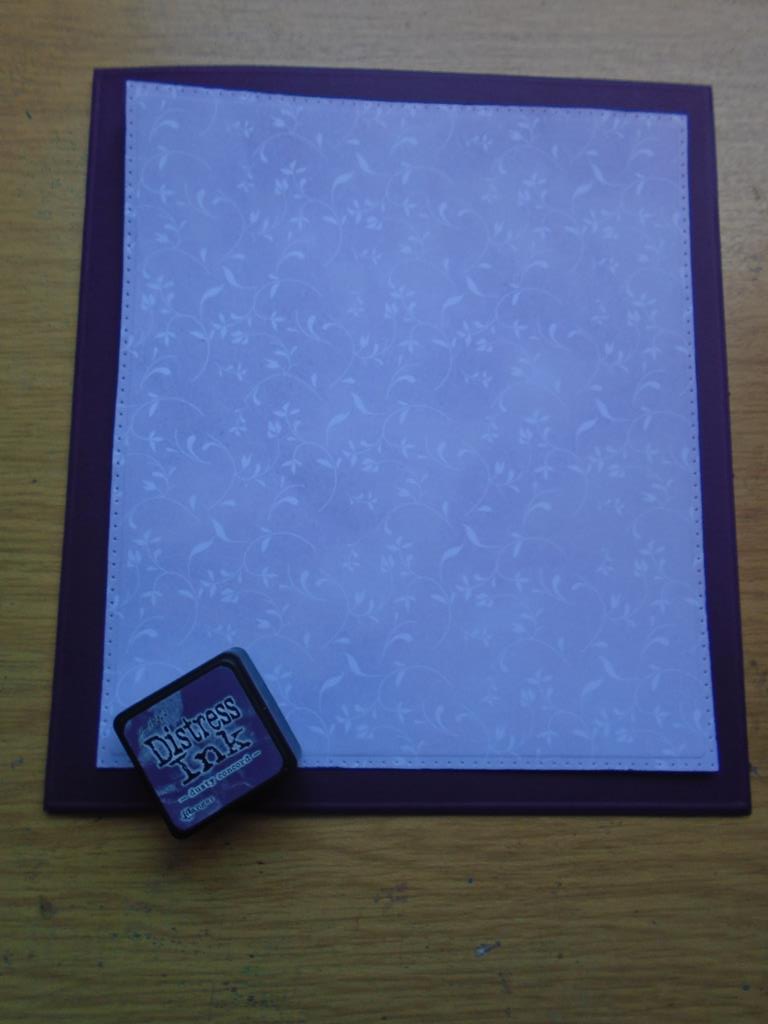
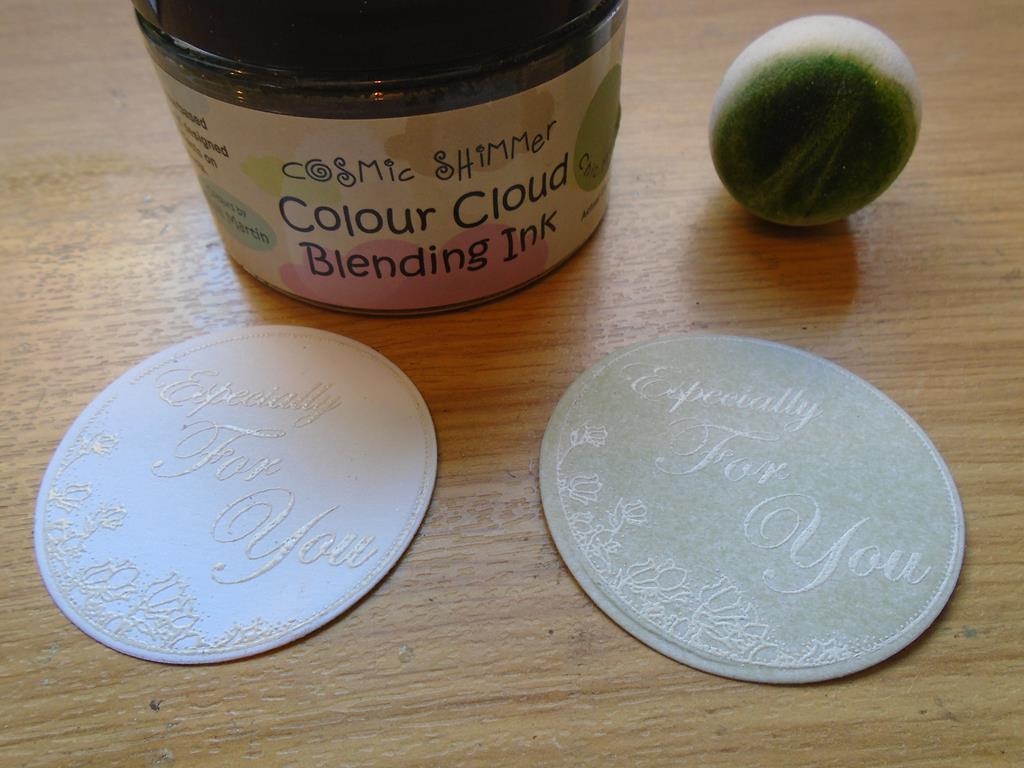
Step 9. Select the smaller frame and use this for the different coloured effects to be added onto. Load the top handle dabber on the blossom metallic gilding polish pot. Wipe away the excess on the side of the pot and swipe the loaded dabber across the top of the card to lay down the colour.
9
Step 10. Lay another line further down using the heather polish.
10
Step 11. Then add some silver or pearl lustre polish before finishing with the blossom polish again. Set aside the card to dry which doesn`t take long at all. You may wish to buff the card up with a dry wet wipe to enhance the shine but it hasn`t been done on this project.
11
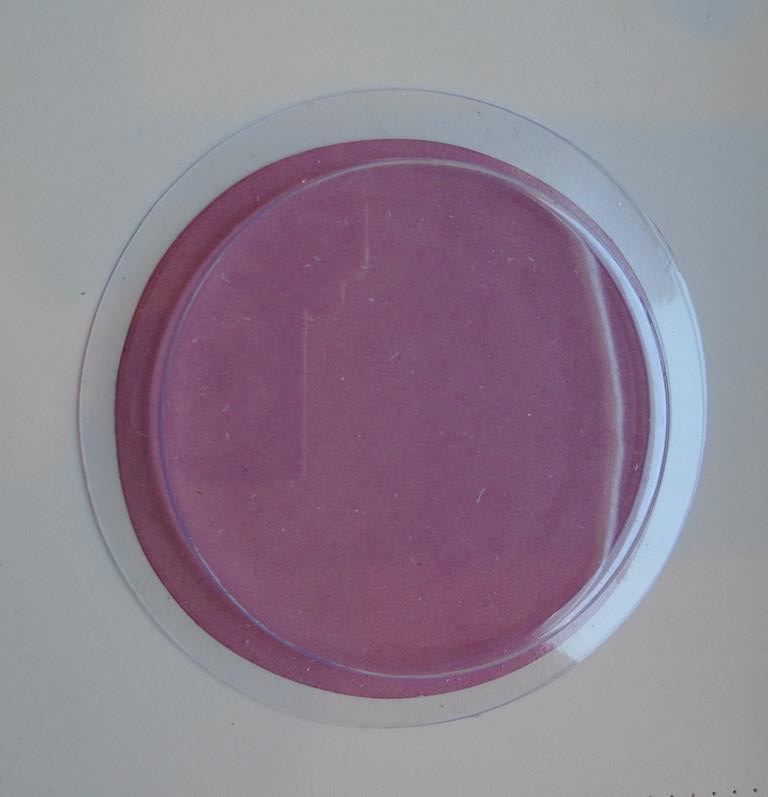
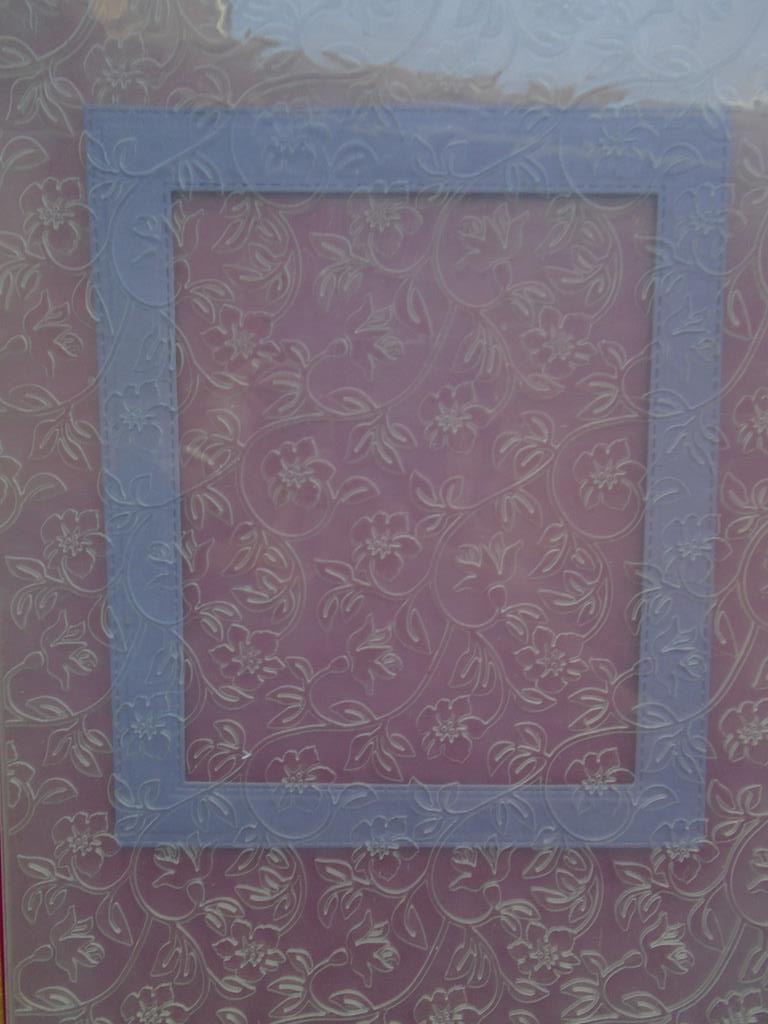
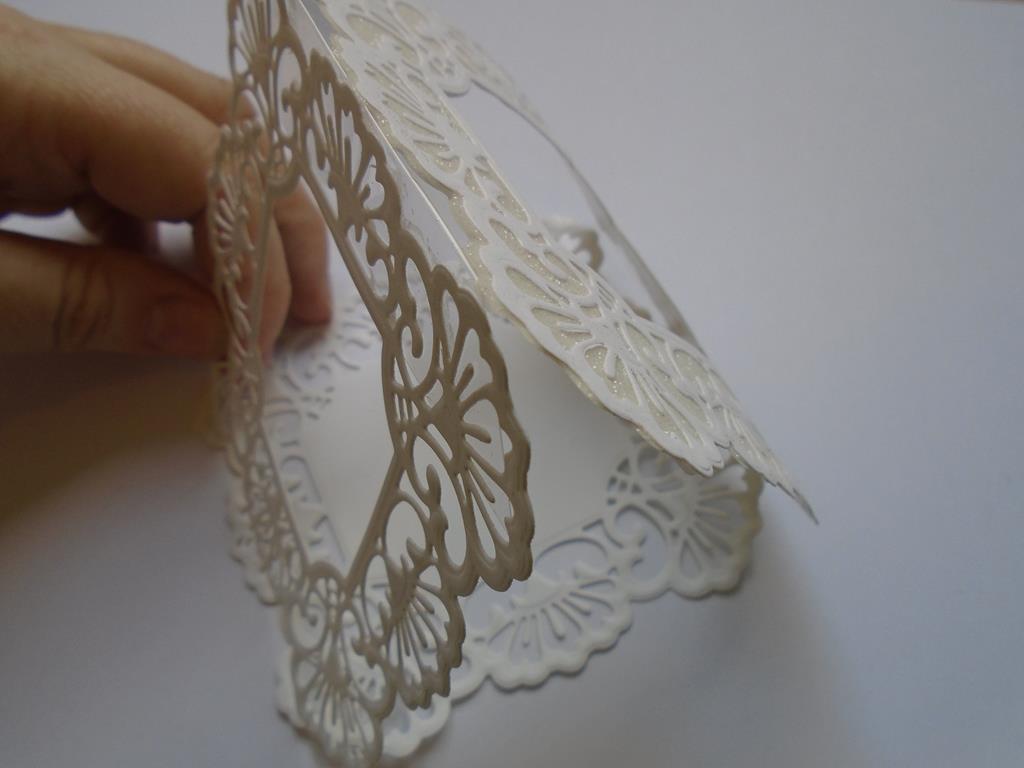
Step 12. Take the larger frame and swipe just the heather gilding polish around the edge of the frame only. This is just to save on how much of the product is used as the inside area will be covered over anyhow.
12
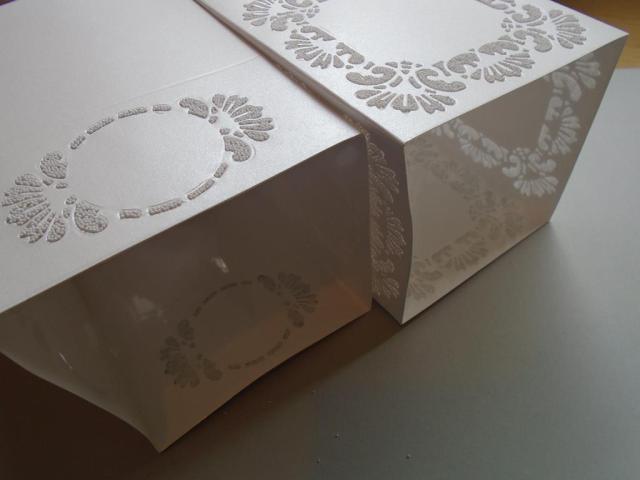
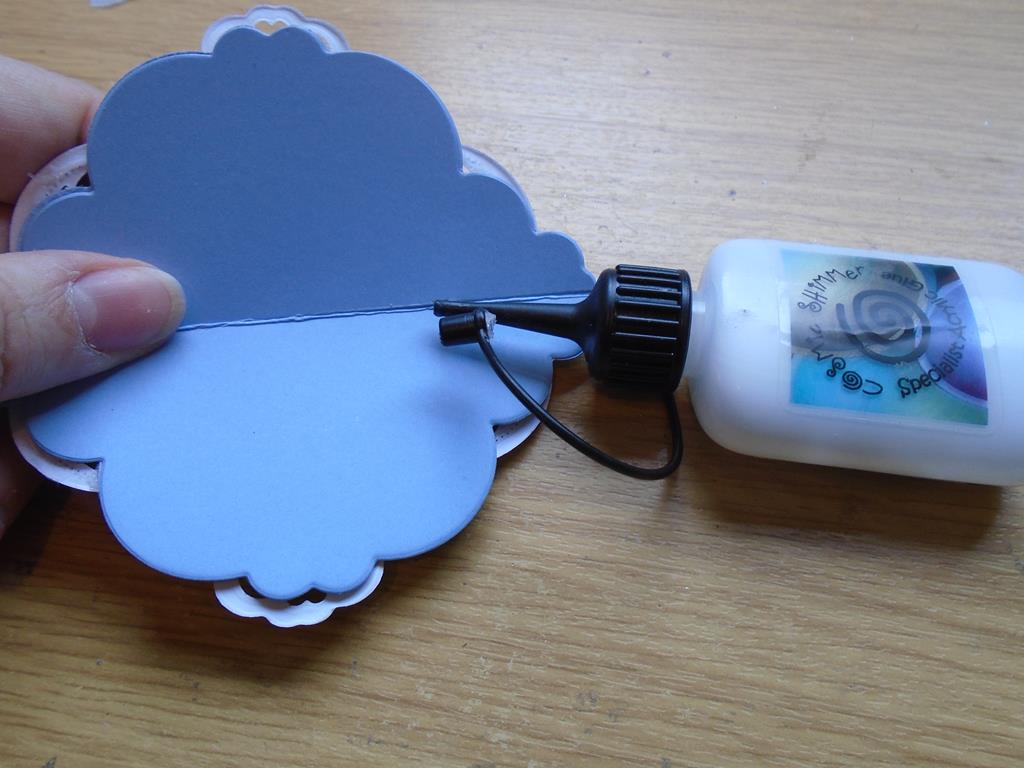
Step 13. Run an embossed line around the back edge of the shadow bow frame to add extra detail to it.
13
Step 14. Lay the box frame onto the layered frames but don`t stick this down at this point. Use it as a guide to where the bottom square aperture will be and then stick the glided polish butterfly at an angle in the centre of the box.
14
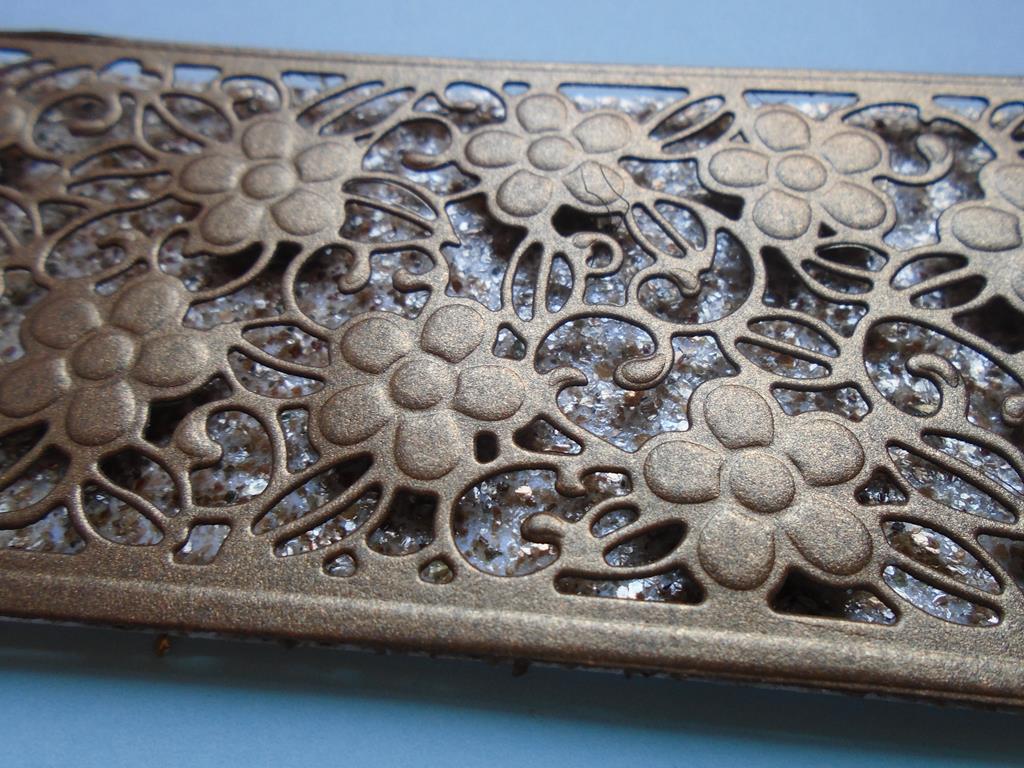
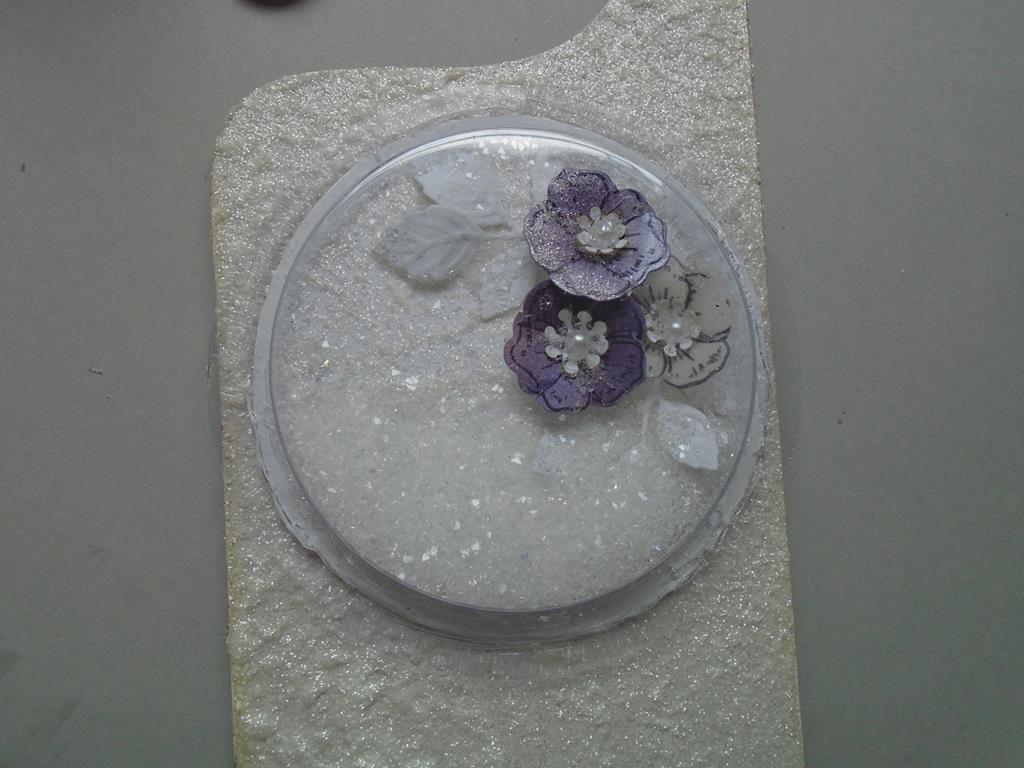
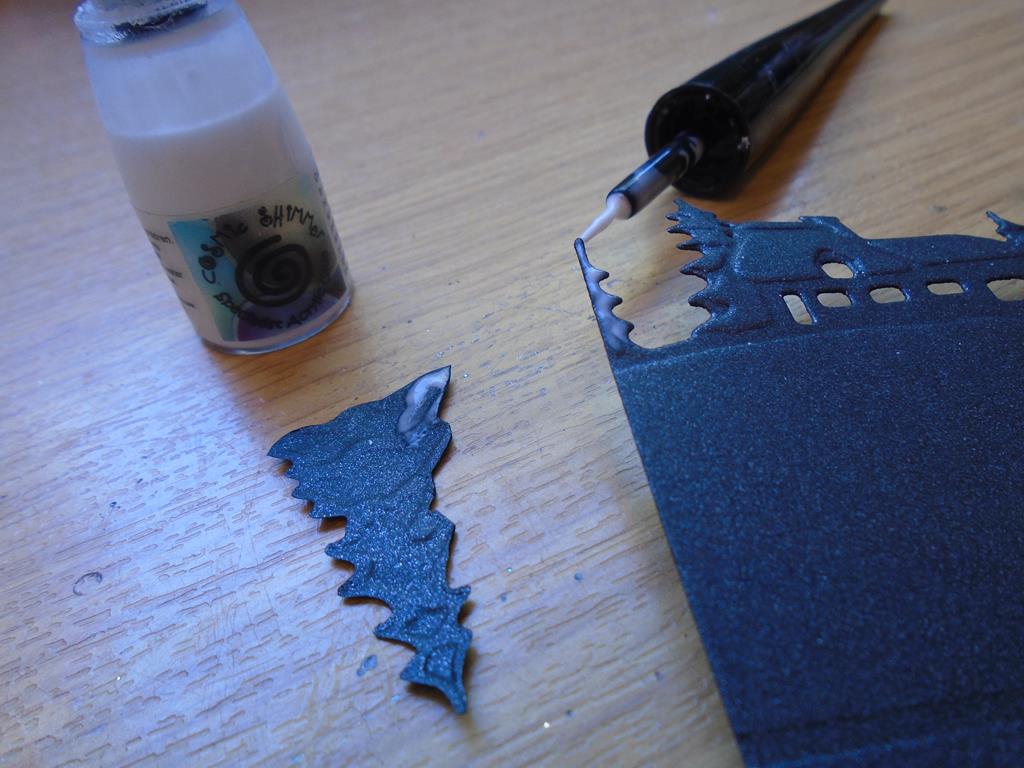
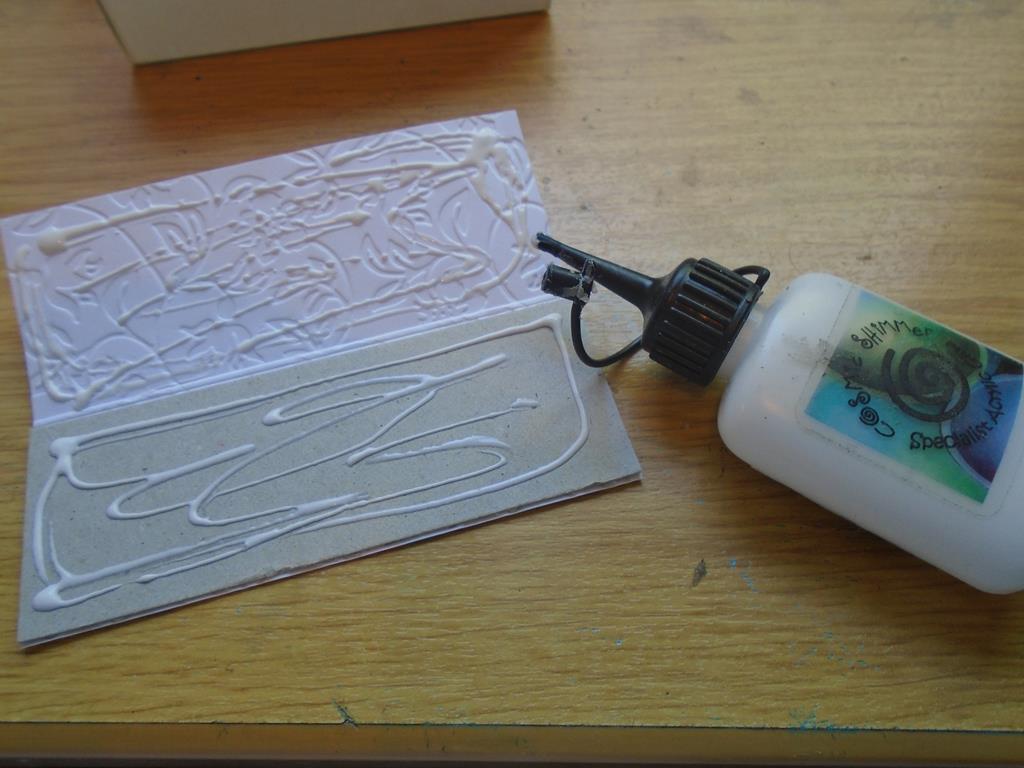
Step 15. Place the box frame onto a non stick mat and add some of the Cosmic Shimmer polar white sparkle texture paste onto a small piece of cut`n`dry felt (this is used as it`s not absorbed as much as the cut`n`dry foam but it can be used if it`s the only thing you have.
15 
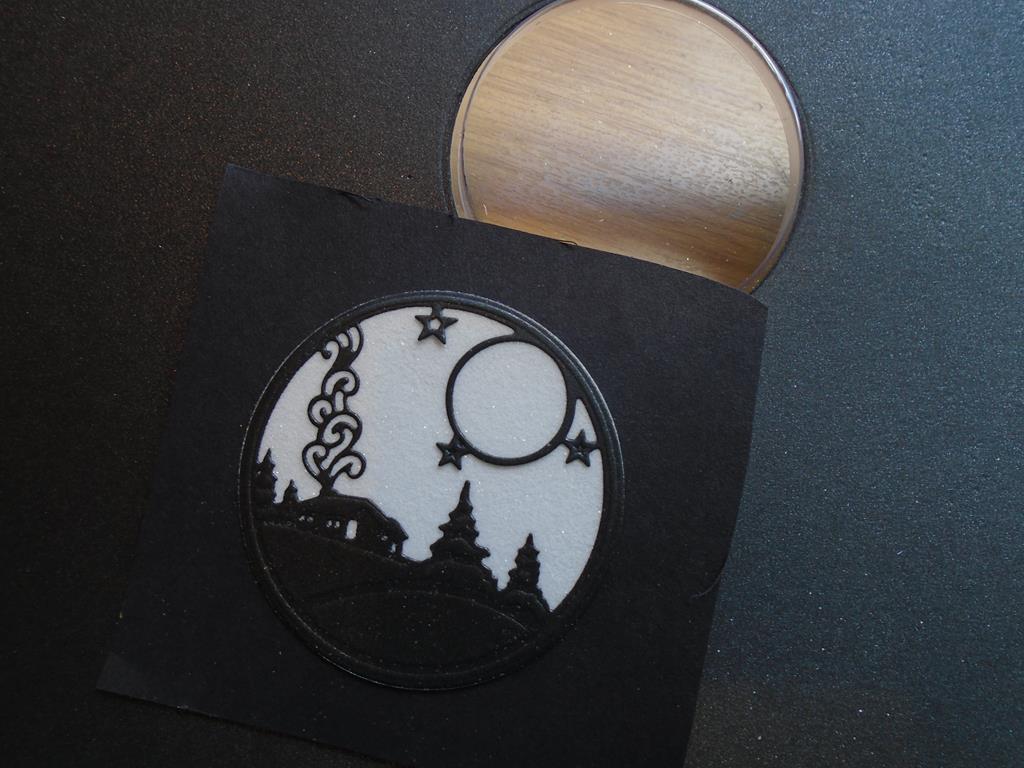
Step 16. Stipple the pad up and down over the frame until it`s all covered. Set aside to dry or as I wanted it quicker (don`t crafters always !!!) I placed it onto a piece of card and laid it over my radiator. Please take care when doing this but it wasn`t any issue with me. You can use a heat tool but it sometimes blisters up when drying and releases a light cloud of vapour.
16
Step 17. Add 2 or 3 different butterflies from the Lisa Horton butterfly splash stamp set on an acrylic block.
17
Step 18. Ink the stamps up using the Perfect Medium pad and then stamp onto a piece of vellum. Stamp 2 sets of 3 butterflies and cover them in the Cosmic Shimmer true white embossing powder.
18
Step 19. Then stamp another 2 sets of the 3 butterflies and cover in the Cosmic Shimmer aurora crystal sparkle embossing powder……
19
Step 20. ……. heat set the 2 different sets of butterflies.
20
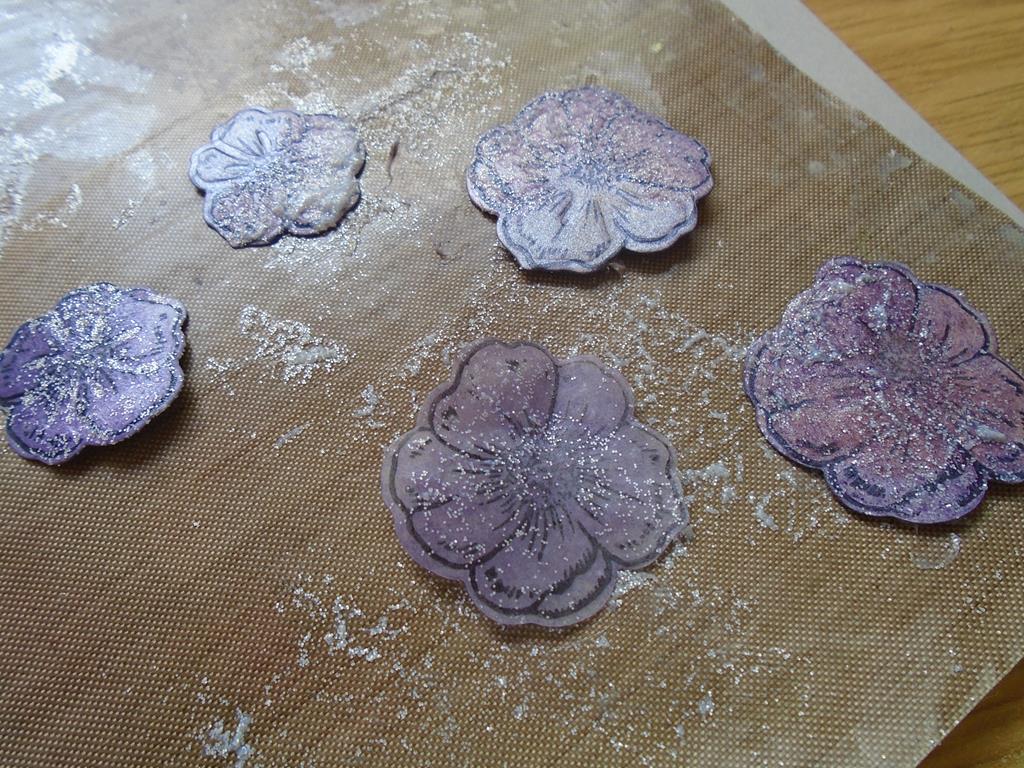
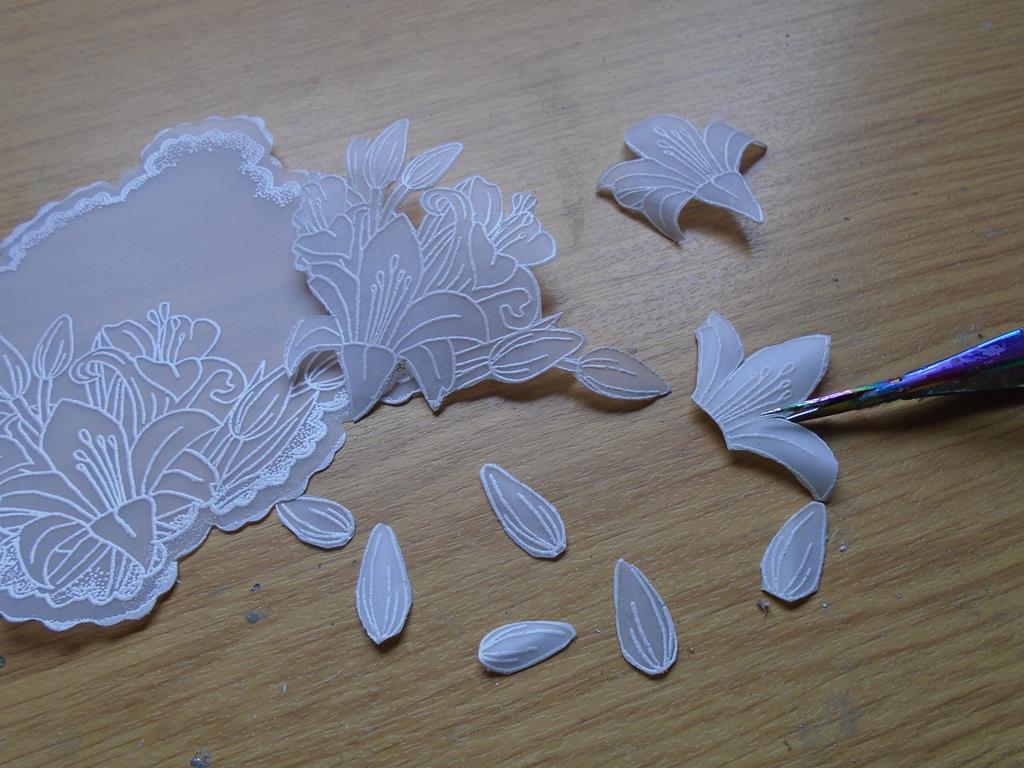
Step 21. Trim around the edges of the butterflies and then curve the wings to add some movement to them.
21
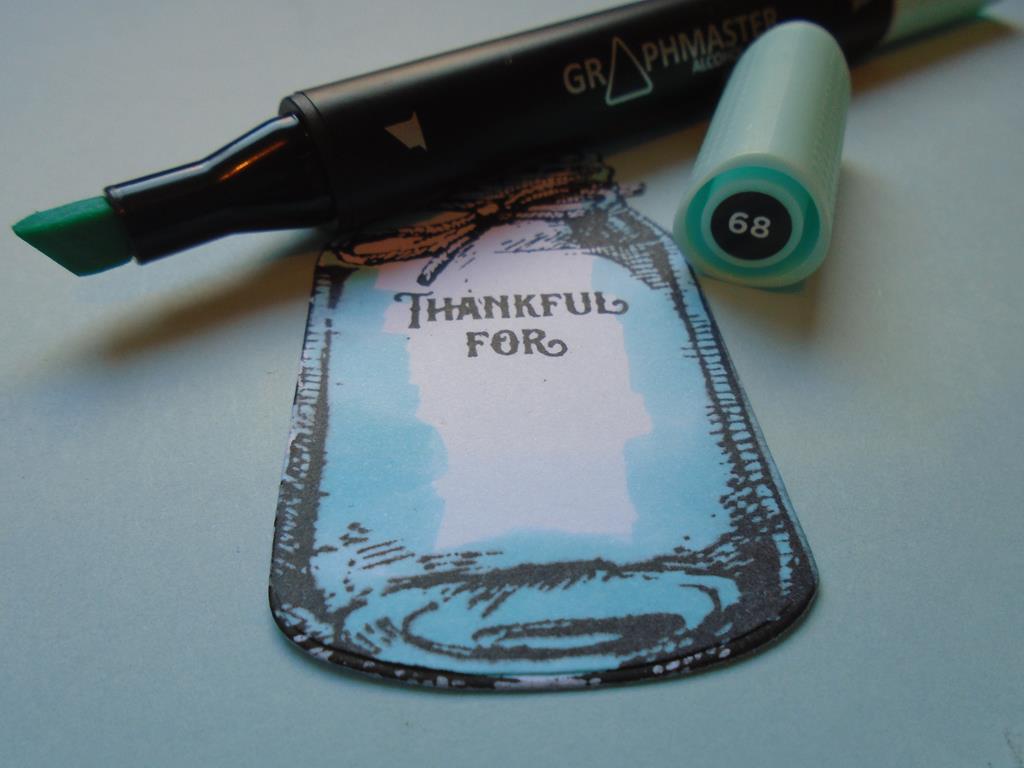
Step 22. The sparkle butterflies will be used on the base of the card. Select the white embossed butterflies and add some of the no.28 pink Graphmaster pen over the back spaces of 3 of the butterflies and add some of the no.77 lilac pen to the remaining 3 butterflies. This will just give a delicate tone of colour seen from the front.
22
Step 23. Now you have all the elements of the card ready to assemble.
23
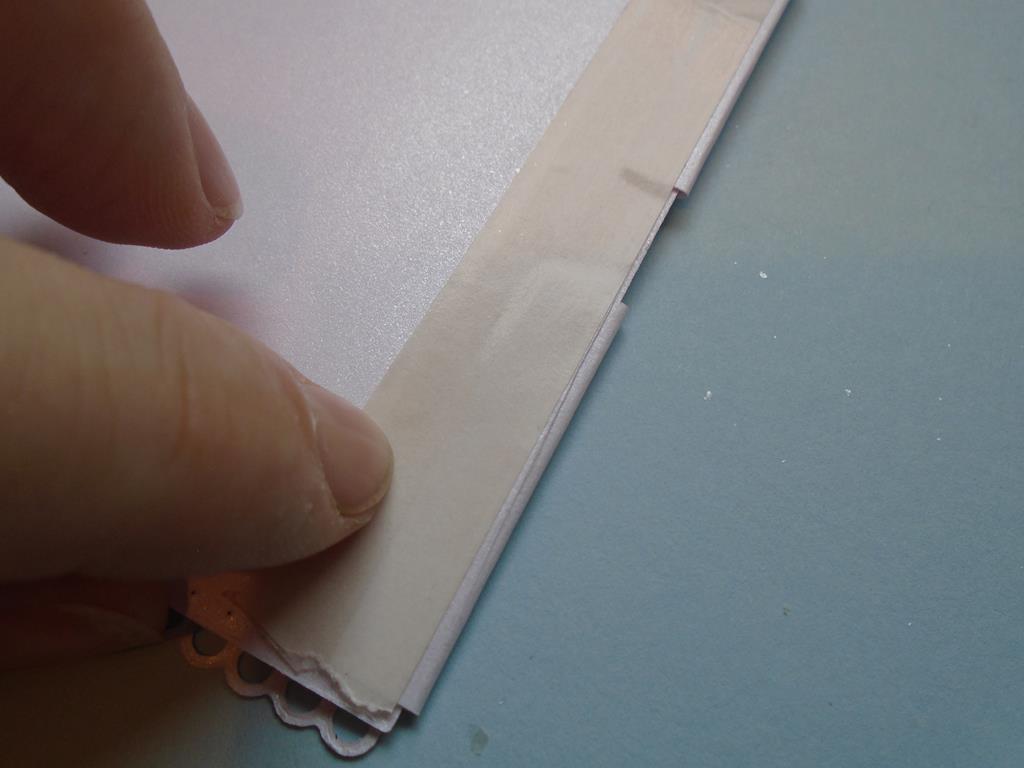
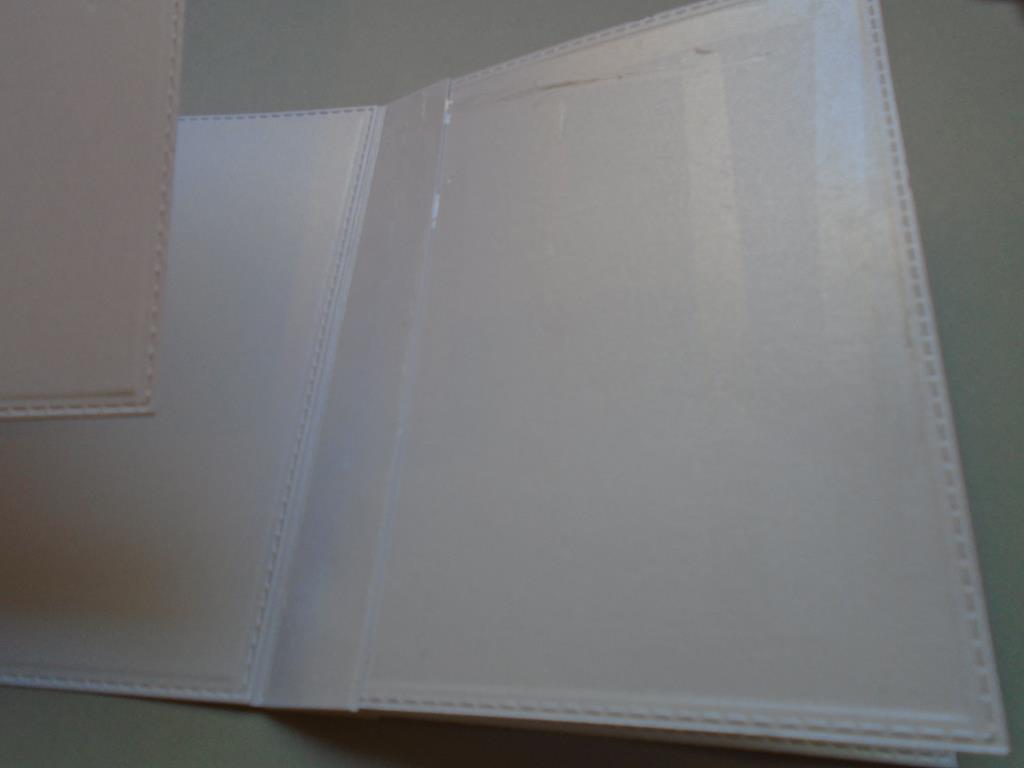
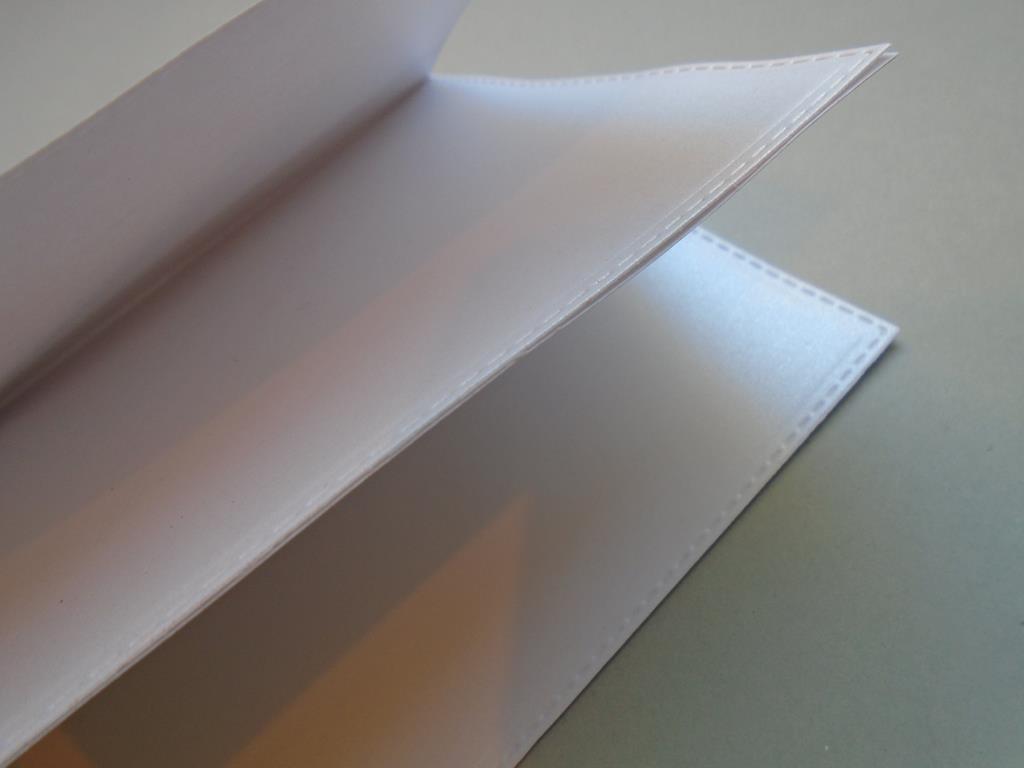
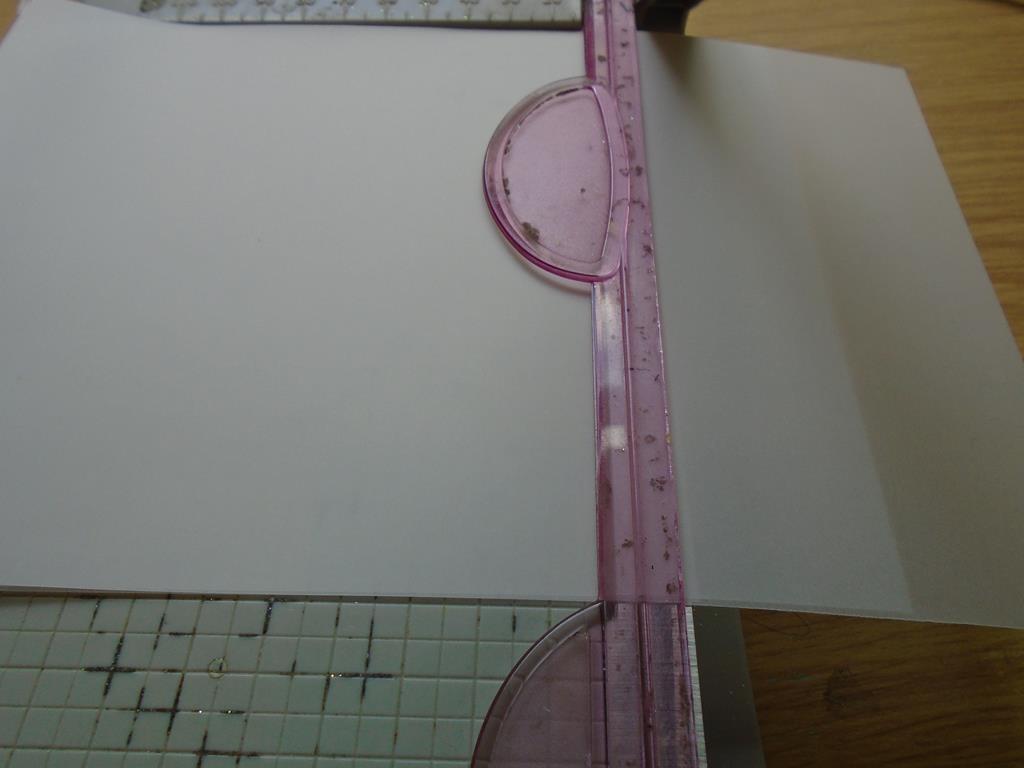
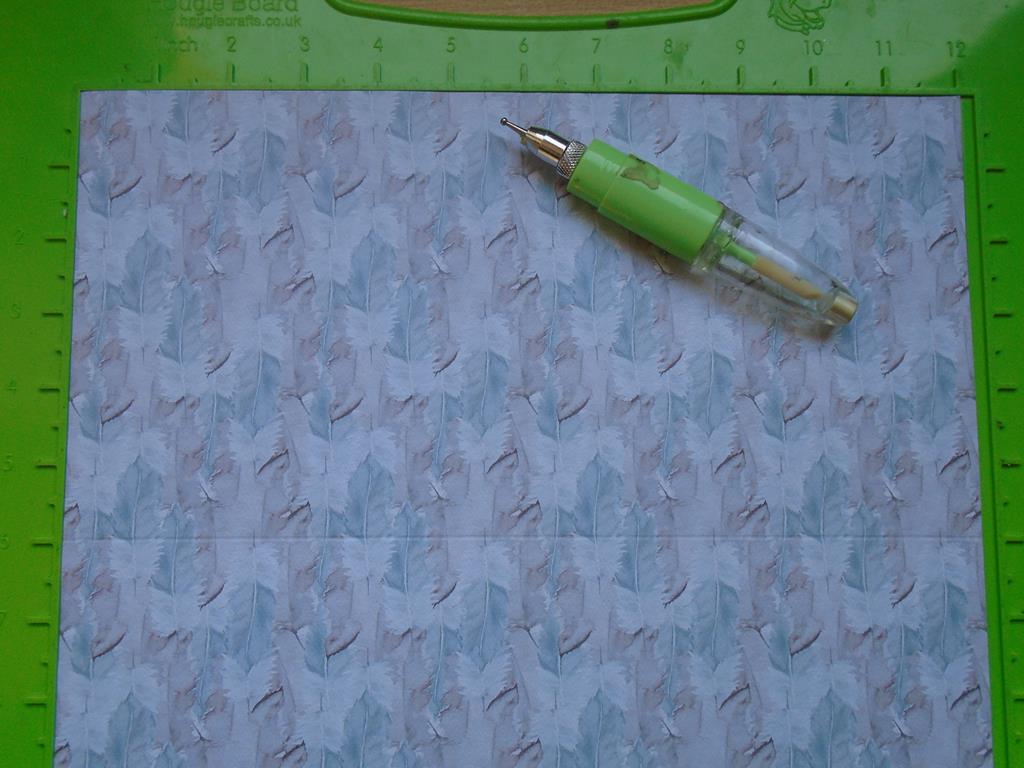
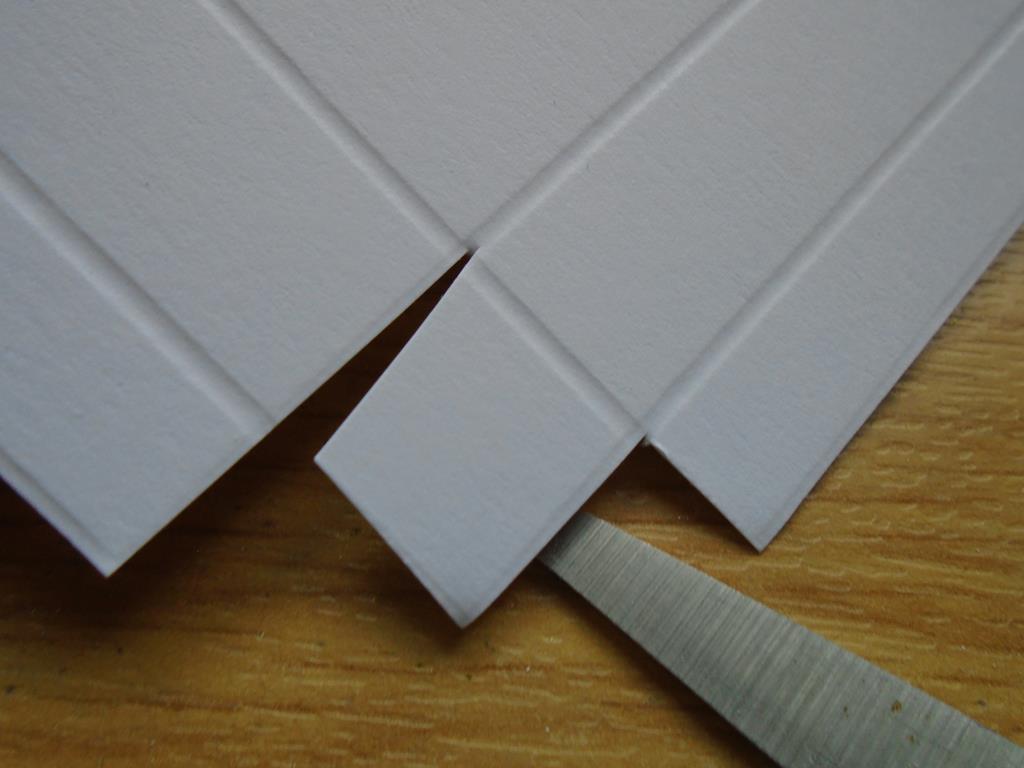
Step 24. Make a base card by joining 2 sheets of the Foundations slate grey card. This card is 18cm wide by 21cm deep. Now score a double line all around the edge of the card for added detail.
24
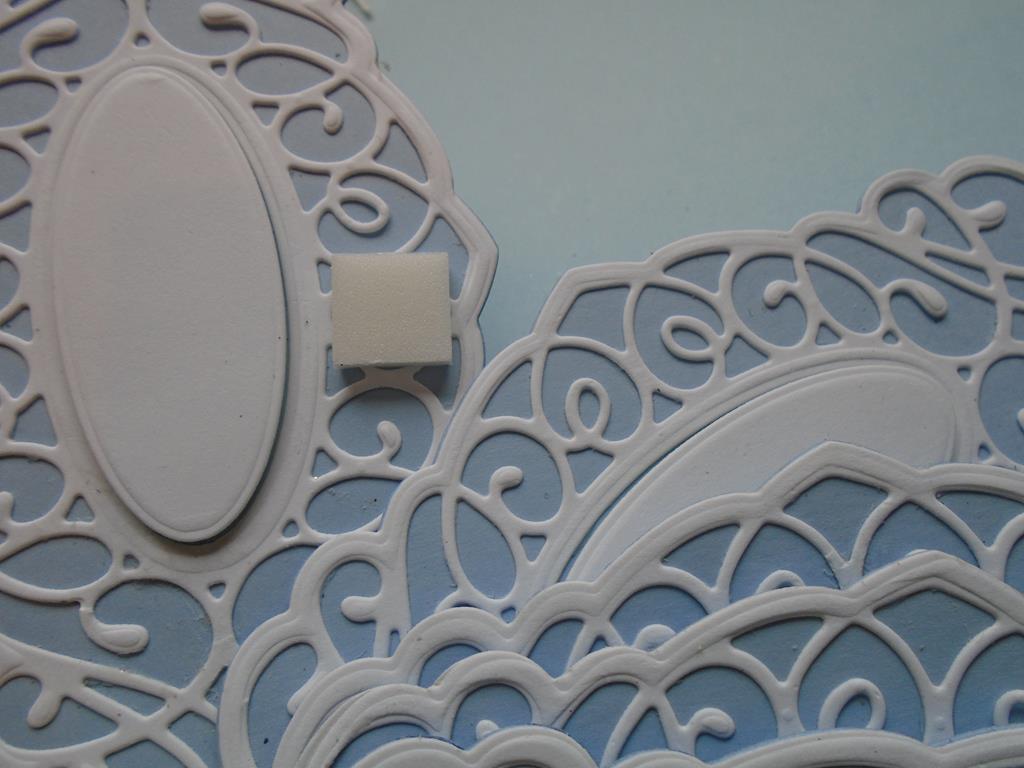
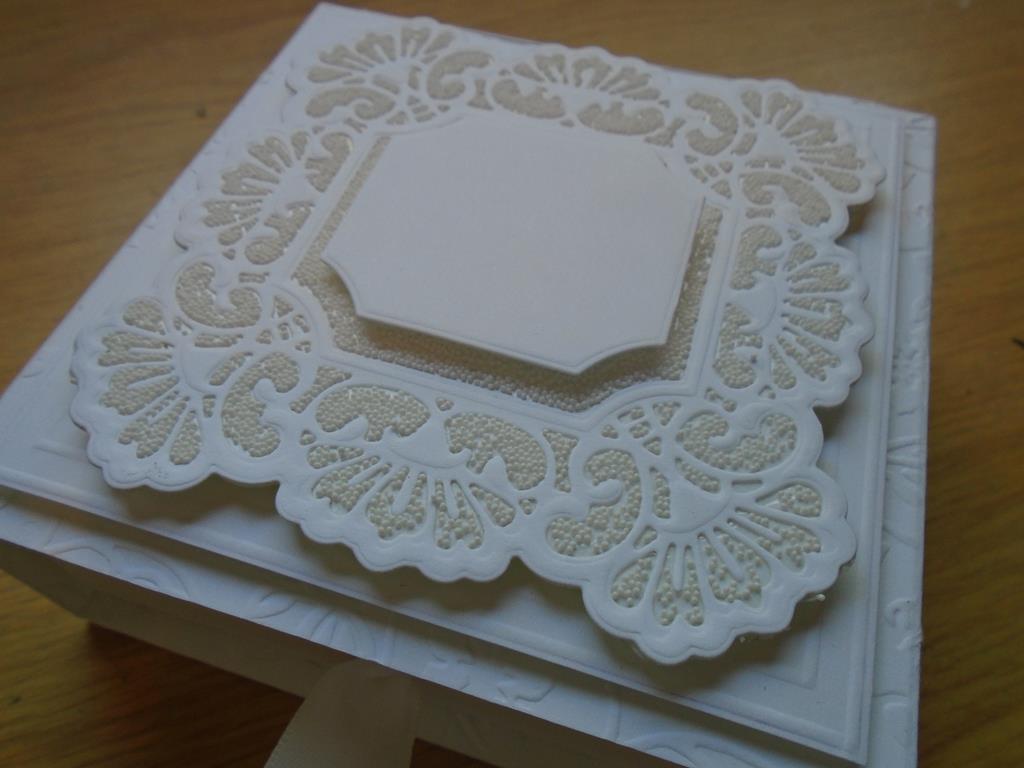
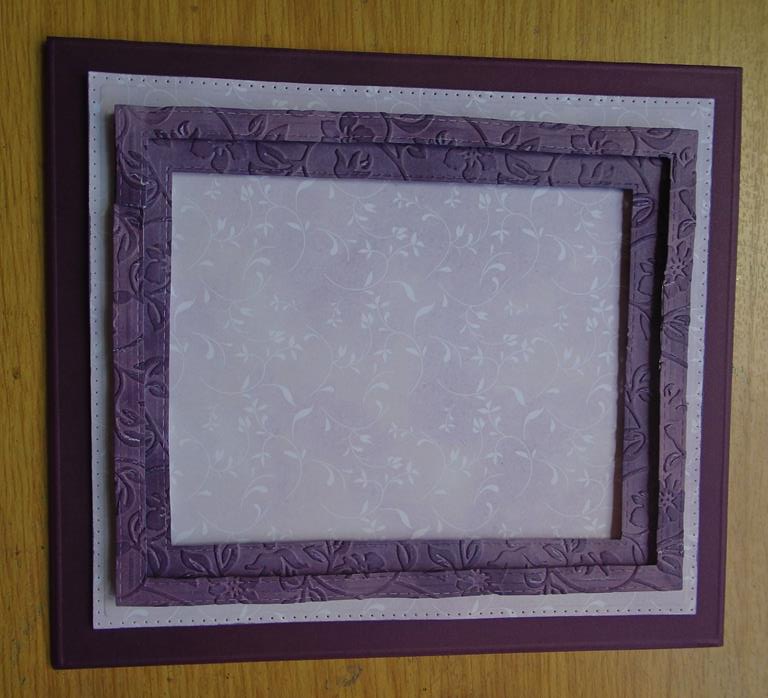
Step 25. Use some foam tape to secure the multi coloured frame onto the heather frame and then add this onto the base card again using foam tape.
Add foam tape along the edges of the back of the box frame……..
25
Step 26. …….. and the attach this the card.
26
Step 27. Add the sparkle butterflies so they work up the card in a swoop. I like to see them getting smaller as you work upwards.
27
Step 28. As there was only a larger on left I have folded it in half & trimmed the wings down. Now go in & add the white matching butterflies over the top of the sparkle one.
28
Step 29. Colour one of the rectangles that came out of the frame using the polish & then curve it over the frame.
29
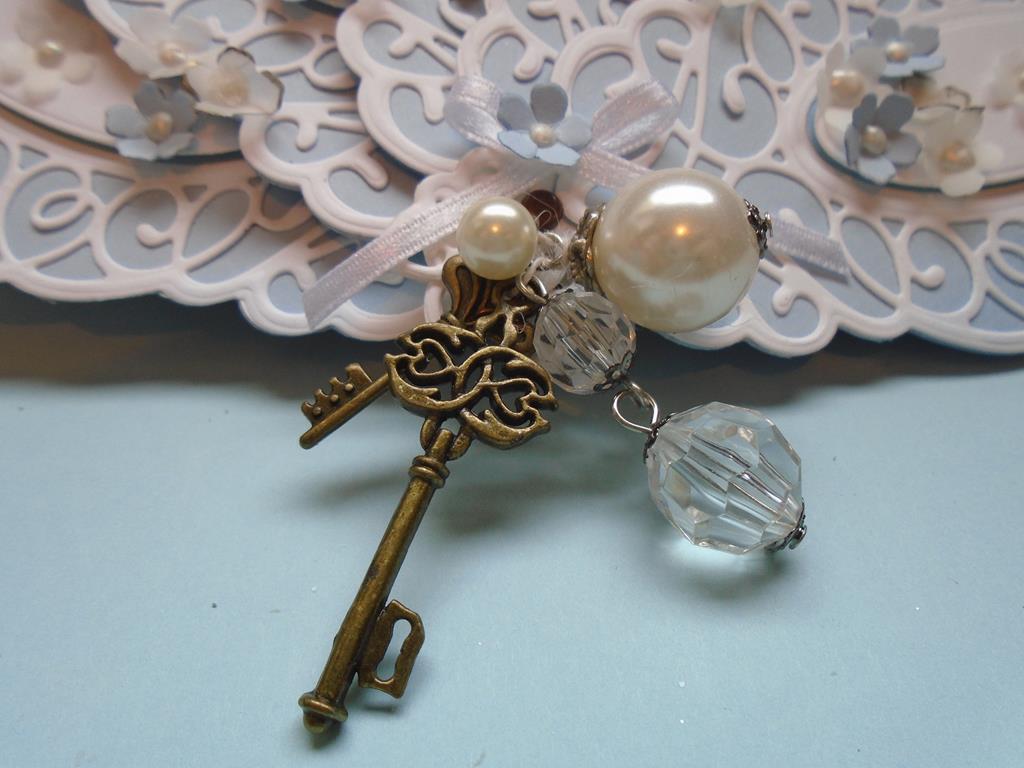
Step 30. Cut a friend sentiment from the box frame die set and add it to the panel before adding a Craft Consortium resin rose to each end of the piece.
Make a bow in the jute twine and finish it off with a small daisy flower head with a faux pearl PVA glue dot in the centre.
30
Happy Crafting
A BIG thank you to everyone who has enjoyed and supported me over the years
it`s been fun x
______________________
Check out the new Clearance Craft site
 __________________________
For all the Indexed Weekly Workshops
Click here
_________________


